-
-
Notifications
You must be signed in to change notification settings - Fork 240
Homebridge on TrueNAS Scale
This guide provides step-by-step instructions to show you how to install Homebridge on TrueNAS Scale as a using Docker.
- TrueNAS Scale
From the Storage section of the TrueNAS application, create a new dataset that will be used to store your Homebridge config and plugins.
From the Apps section, select Launch Docker Image. Enter the details as follows:
- Application Name:
homebridge - Container Image:
- Image repository:
homebridge/homebridge - Image tag:
latest
- Image repository:
- Container Entrypoint: no changes
- Container Environment Variables: no changes
- Networking:
- Add external Interfaces
- Select the interface on which your TrueNAS is connected to your home network
- Use DHCP
- Set DNS settings
- Set DNS policy to "Ignore DNS setting from the Kubernetes cluster"
- Add a nameserver (your router's IP should work here, but
8.8.8.8works in a pinch)
- Add external Interfaces
- Port Forwarding: no changes
- Storage:
- Configure Host Path Volumes
- Host Path:
path to the dataset created in step 1 - Mount Path:
/homebridge
- Host Path:
- Configure Host Path Volumes
- Workload Details:
- Add Capability
CAP_NET_ADMIN
- Add Capability
- Scaling/Upgrade Policy:
- Update Strategy:
Kill existing pods before creating new ones
- Update Strategy:
- Resource Reservation: no changes
- Resource Limits: no changes
- Portal Configuration: no changes
- Confirm Options:
Save
The container is now setup and almost ready for use and can be accessed on port 8581.
However, there are two network interfaces in the container: an internal one for the kubernetes cluster and an external one on your home network.
The former interface will keep homebridge from properly communicating with HomeKit.
We must remove that interface on container startup, through Homebridge's startup script configuration (this is why we need the CAP_NET_ADMIN capability).
You can access the Homebridge UI using http://IP_ADDRESS:8581.
Once you log in, click on the elipses in the top right and select Startup Script
To the bottom of the startup script, add the following (replace YOUR_ROUTER_IP with the actual IP of your router):
ifconfig eth0 down
route add default gw YOUR_ROUTER_IP
Now Stop and Start Homebridge from the TrueNAS Scale UI.
Homebridge should now be able to communicate with HomeKit on your home network.
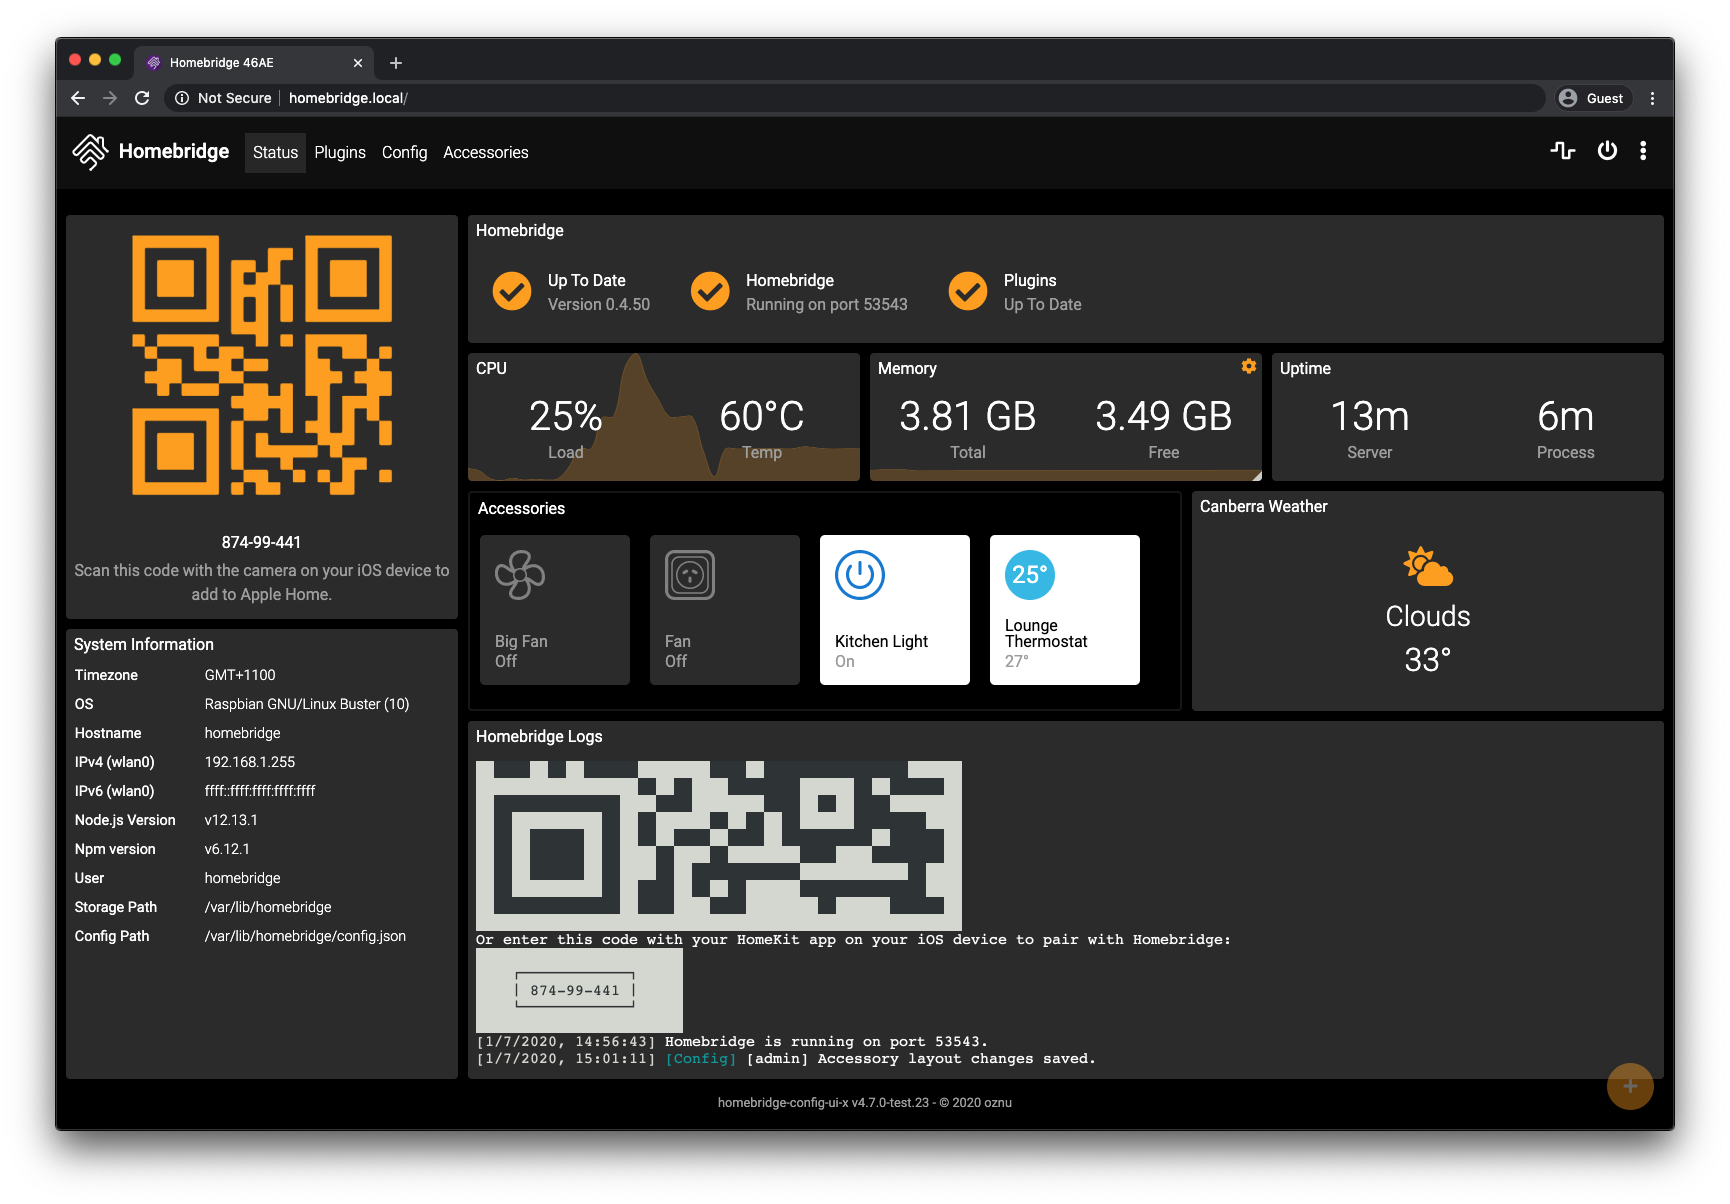
The Homebridge UI web interface will allow you to install, remove and update plugins, and modify the Homebridge config.json and manage other aspects of your Homebridge service.

This table contains important information about your setup. You can use the information provided here as a reference when configuring or troubleshooting your environment after setting up Homebridge using the instructions below.
| File Location / Command | |
|---|---|
| Config File Path |
/homebridge/config.json (inside container) |
| Storage Path |
/homebridge (inside container) |
| Plugin Path |
/homebridge/node_modules (inside container) |
| Update Node CMD | hb-service update-node |