Here follows a short guide on how I set-up Syncthing & SyncthingStatus on my Windows machines.
Download "Base Syncthing" from Syncthing's downloads page. Store downloaded binary somewhere you won't (re)move it later on (For example, D:\Programs\Syncthing).
Then, make sure that Syncthing runs on Windows startup. Syncthing docs have an article that describes a few different approaches how to set this up.
I prefer to do it with the Startup folder:
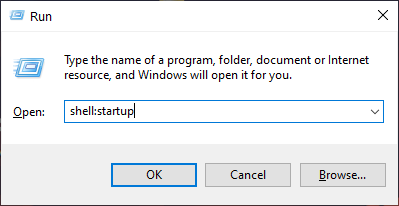
- Open up the Run... window (Win + R)
- Type in
shell:startupand click OK.
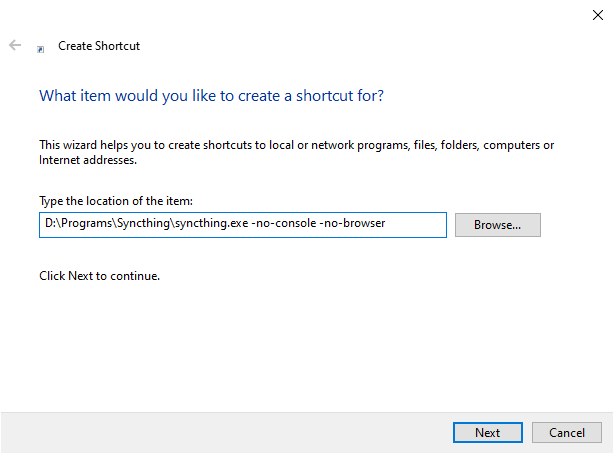
- An Explorer window will pop up with the Startup folder. Here, do the Right click > New > Shortcut.
- When prompted for the location of the item, browse and select
Syncthing.exe. Before clicking Next, add-no-console -no-browserto the end (this will make Syncthing run in background, without console window or opening the browser).
- Complete the shortcut creation process. Congrats, Syncthing will now automatically run when you log in.
Download latest release executable from GitHub releases (look under Assets).
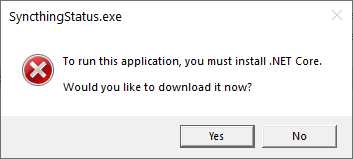
On first run, you might be prompted by Windows that you need to install .Net Core. Click Yes. A website with download options will pop up.
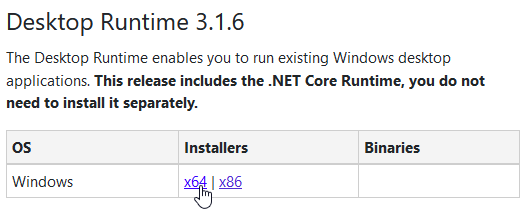
On the webpage, look under the Desktop Runtime section and download the installer. Run the installer and let it do it's thing.
 .
.
The steps to make SyncthingStatus run on startup are practically the same as for the Syncthing itself (create a shortcut in the Startup folder, see instructions above).
Once SyncthingStatus is running, don't forget to setup the API Key in settings so it can connect to Syncthing successfuly.