The following provides plans for how you can make a very low cost simple Wind Simulator for iRacing. I designed this to use only easy to get parts with minimal coding and soldering needed.
This design uses PWM Controlled PC cooling Fans. It only needs a low cost Arduino to drive it. No moto Shield or Monster moto driver is required because of the use of PWM controlled fans.
To use this design you need to adjust the wind output to be directional in order for the effect to be felt. I used a design from Thingiverse that I 3D printed
Information in this project is published in good faith and for general information purpose only. I do not make any warranties about the completeness, reliability, and accuracy of this information. Any action you take upon the information you find in this project, is strictly at your own risk. I will not be liable for any losses and/or damages in connection with the use of information within this project. DIY Projects can result in shock or injury. Procede at your own risk!
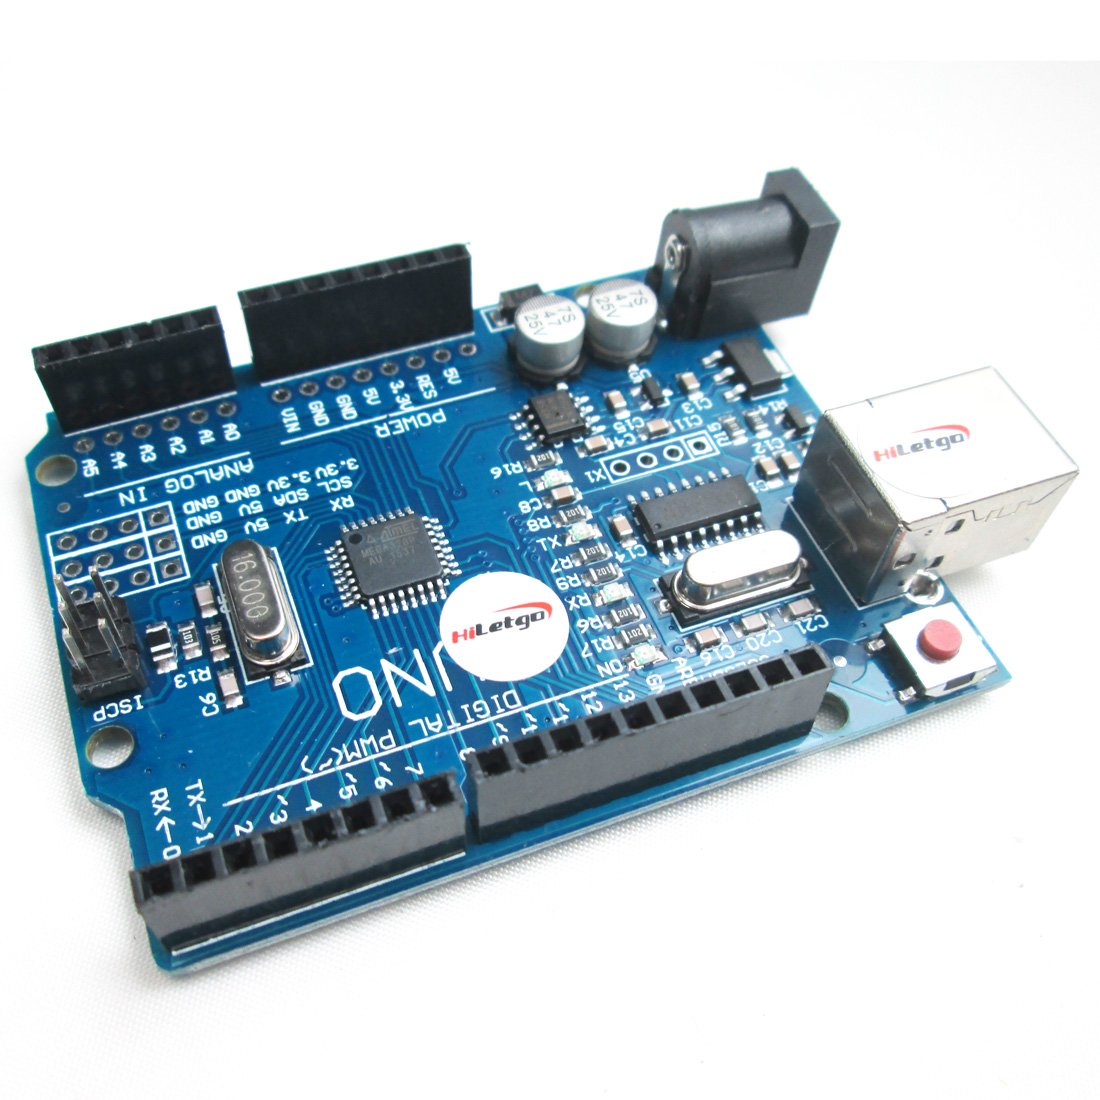
- Arduino Uno https://www.amazon.com/HiLetgo-ATmega328P-Development-Compatible-Microcontroller/dp/B01AR7YJ3O
- 12v Power Supply of at least 1.5 amps. You can use an old PC power supply but its overkill. https://www.amazon.com/100v-240v-Transformers-Interface-5-5x2-5mm-Suitable/dp/B0793SDTJK
- Voltmeter
- Soldering Iron
- 3D Printer
- Fan Shroud: https://www.thingiverse.com/thing:2884277 or http://www.thingiverse.com/thing:3495351 or http://www.thingiverse.com/thing:408156
- Run the arduino integrated development environment software (Download it here https://www.arduino.cc/en/main/software)
- Plug in your arduino uno usb cable into your PC
- Download the Fast PWM library, written by Sam Knight here https://github.com/RCS101/PWM
- In the Arduino IDE, navigate to Sketch > Include Library > Add .ZIP Library. At the top of the drop down list, select the option to "Add .ZIP Library''. You will be prompted to select the library you would like to add. Navigate to the .zip file file you downloaded in step 3 above. (You can read more about doing this here https://www.arduino.cc/en/guide/libraries
- Download the sketch file in the Arduino Sketch Code from this project folder https://github.com/Crypto69/Wind-Simulator-Project/tree/master/Arduino%20Sketch%20Code
- Open the sketch file you downloaded called WindSimulatorWithPWMH.ino in the Arduino IDE.
- Compile the sketch by pressing the tick in the circle button at the top.
- Upload the sketch to your arduino my pressing the right arrow in the circle button
- You Arduino should now have the software it needs to drive the PWM PC Fans
- On the bottom right of the IDE software will tell you the COM port your arduino is connected to. It will say something like COM4. Take a note of this. You will need it later.
- Unplug the Arduino and get ready for wiring
- Ensure Arduino and your 12v Power supply are not plugged in at this stage
- Detach plug from your 12vDC Power supply. Plug it in and use a voltmeter to find out which end is positive. Be sure not to touch the ends of the exposed wire risking shock or shorting the power supply (Sometimes they have a wire with a white stripe that is usually the positive wire)
- Connect the negative end of the DC power supply to the arduino ground pin. (as per wiring diagram step 2)
- Connect the positive wire from the power supply to the terminal block. (as per wiring diagram step 3)
- Connect the Arduino ground pin next to the power supply negative you just wired to the terminal block (as per wiring diagram step 4)
- Connect a wire from pin 3 on the Arduino Uno to the terminal block (as per wiring diagram step 5)
- Remove the PWM signal wire (usually blue if colored) from one of the fans and connect it to the other side of the terminal block where pin 3 from the arduino is connected (as per wiring diagram step 6)
- Remove the negative wire or ground wire (usually black if colored) on the PWM PC Fan connector and connect this into the terminal black on the opposite side of where you connected the ground/negative from the arduino into the terminal block ((as per wiring diagram step 7)
- Remove the positive wire (usually red if colored) on the PWM PC Fan connector and connect this into the terminal black on the opposite side of where you connected the positive from the 12v power supply into the terminal block ((as per wiring diagram step 8)
- Download the Wind Simulator software setup file from here:
- This is a .Net application that connects to the iRacing Telemetry output. All this app does is read the speed many times a second and pass a value between 0 and 255 to the arduino. 255 being top speed and 0 being stopped. The software self learns the top speed as your drive the car. So initially the fans may spin quickly for the first lap but will adjust once it works out your speed range.
- Install the application by running setup.exe
- Run the application. You will be required to select the com port your arduino is running on. You can find this when your run the arduino ide application. On the bottom right it tells you your comm port. You wont need to do this again unless you change the COM port.


- Click the start button and minimise the app. you wont need it again. You can leave it up and it will show the speed of the car and the value being sent to the arduino.
- Start iRacing and drive. Your fans will spin up learn your top speed self adjust and then settle down.
You can see a video of it in action here: https://youtu.be/xUraMKOlKhc
If you got this far then well done !
You may want to make your solution look more professional. You can 3D print the laminar flow files, cases and gopro mounts.

The links to the STL files for 3D printing were listed above.


