Bachelor end project
Hi, In this python project I keep my data and simulations. I am a bachelor student applied physics at the Technical University Delft. I have worked on designing a High Frequency Hygrometer.
If you come from my thesis you will need to go to the folder BEP_jupyter. There you will find all the charts and data/functions. In BEP_google_drive you can find my log, design ideas and more documents I used in this project (it's all Dutch though).
This project might look cluttered and messy, probably because it is, but I'll do my best to guide you through it.
This readme file will have the same directory stuff as the project, so you can find stuff like that. Sources will be directly linked underneath the explanation.
-
calculations
this folder contains some data and fits to calculate a fit for useful functions
-
air_density_calculator: This takes air density data at 1 atm that I got from engineeringtools [1], makes a fit and plots it, this data is later used in functions.functions calculate_air_density
-
Humidity_calculator: This takes water saturation data at 1 atm that I got from engineeringtools [1], makes a fit and plots it, this data is later used in functions.functions calculate_water_saturation
-
-
downloads
downloads has some preview code, for me to learn stuff, basically, I won't elaborate
-
lines3d_demo
-
surface3d_demo
-
wire3d_demo
-
-
foute boel
this folder has stuff in it that got abandoned or was just wrong
-
FOUT TEST absorptie: the data I got from here [1], but it was wrong. the mu_ data are attenuation coefficients, after that the percentages of the gasses in the air. after that I calculate the low and high percentage of water in the air attenuation coefficients. from this I can calculate the intensity that remains after said path length with beer lamberts law [2]
- [1] https://physics.nist.gov/PhysRefData/XrayMassCoef/ElemTab/z07.html
- [2] just google: beer lamberts law
-
-
functions
This is a vital folder, it has basic/specialized functions and data sets from different sources
-
functions:
-
measure_intensity: function to measure the intensity left over after a certain path length, using Beer-Lamberts Law [1]
- [1] just google: beer lamberts law
-
intensity_in_dB: returns the difference in dB between start signal and end signal
-
wavenumber_to_wavelength: returns wavelenght, when input is given in WN/cm
-
calculate_water_saturation: calculates water saturation at g/m3, given temperature T in Celsius
-
calculate_air_density: calculates air density at kg/m3, given temperature T in Celsius
-
calculate_maximum_percentage_water: uses: calculate_water_saturation and calculate_air_density to return a decimal percentage of the max percentage water in the air at certain temperature T in Celsius, accurate between -20 and 60 C
-
make_2d_humidity_list: makes a 2d list of humidity, input should be 101,101, so you get the 0 to 100 2d array MAKES AN ARRAY
-
make_2d_path_length_list: makes a 2d list of the path length, input should be 101,101, so you get the 0 to 1 in increments of .01 2d array MAKES AN ARRAY
-
make_2d_decimal_list: makes a list with rows of [3, 4, 5] this is for TEST_9 in WIKI, the input decides the amount of rows
-
-
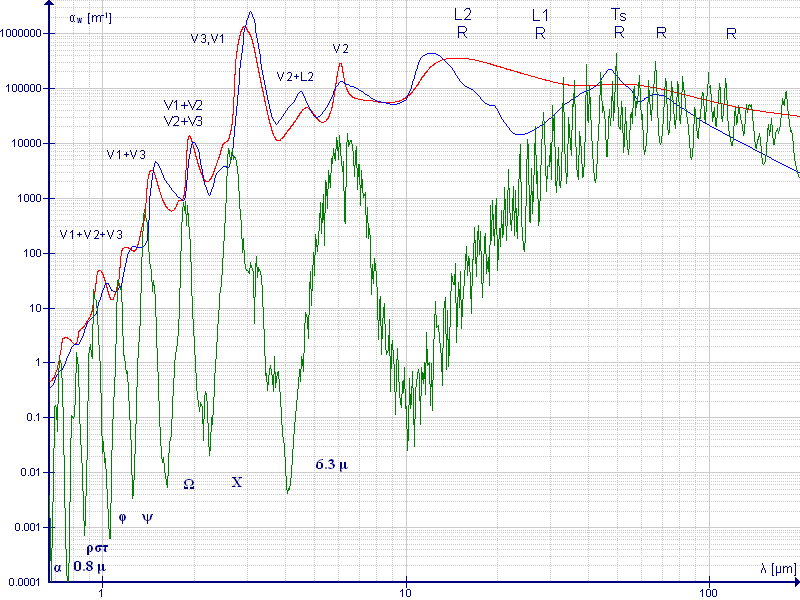
HITRAN_data: contains de data for absorption coefficients taken from HITRAN [1]. the data is in dictionaries, key=wavenumber/cm, value=absorption coefficient. as you can see, I made a different mu for nitrogen, this is because the data was negative. this seems impossible, so I made it 0
-
HITRAN_functions:
-
HITRAN_absorption_coefficient_air_composition_low_high_humidity: returns the attenuation coefficient of the air composition for low and high humidity. this low and high humidity was found somewhere, I know it is wrong, this function has been used in early testing only.
-
HITRAN_find_humidity_from_intensity: this function can calculate what the humidity is, based on recieved intensity. it basically calculates beer lamberts law backwards. mu_known is something to keep the the math compact, basically the only concentration we do not know is water. so I made the rest 'mu_known.'
-
HITRAN_absorption_coefficient_air_composition_low_high_humidity_at_T: this does the same as HITRAN_absorption_coefficient_air_composition_low_high_humidity, but now with T this uses the function calculate_maximum_percentage_water to determine maximum water percentage in air
-
HITRAN_find_humidity_from_intensity_at_T: this does the same as HITRAN_find_humidity_from_intensity, but now with T this uses the function calculate_maximum_percentage_water to determine maximum water percentage in air
-
-
WIKI_data: this contains the data from wikipedia [1], basically the graph [2]. I tried to read the data from the graph, so it might be off.
-
WIKI_functions: here I do not look at the rest of the composition of air anymore, since I figured out that water has a magnitude of 100 over the rest of the molecules.
-
WIKI_absorption_coefficient_air_composition_high_humidity: returns the attenuation of high humid air, this is mostly incorrect, but again an early test. I only return high_humidity, because low-humidity is just equal to 0, because we do not look at the rest of the air molecules.
-
WIKI_find_humidity_from_intensity: returns a backwards calculated humidity percentage, using beer-lamberts law [1]
- [1] just google: beer lamberts law
-
WIKI_absorption_coefficient_air_composition_high_humidity_at_T: calculates the maximum attenuation coefficient for water at temperature T in Celsius.
-
WIKI_find_humidity_from_intensity_at_T: returns a backwards calculated humidity percentage, using beer-lamberts law [1] at temperature T in Celsius.
- [1] just google: beer lamberts law
-
WIKI_find_intensity_loss: this calculates the intensity at a certain humidity percentage at temperature T in Celsius.
-
-
-
HITEMP some lost hope to read HITRAN stuff
-
HITRAN_DATA_TESTS here I will just say what the tests do, not how they work. data is taken from HITRAN_data
-
TEST_1: looks at the difference of different wavelength light passing through the air. trying to figure out if my concept was possible. TEST_1_zonder_round lets out the full intensity, this is used later on
-
TEST_2: this tests if I can calculate backwards, to get the humidity back again.
-
TEST_3: testing the intensity loss, but now at temperature T.
-
TEST_4: his tests if I can calculate backwards, to get the humidity back again, but now at temperature T.
-
TEST_5: his tests if I can calculate backwards, to get the humidity back again, but now at random temperature T.
-
-
MAIN outdated stuff, this is where I started Also some random stuff lives here
-
venv who knows...
-
WIKIPEDIA_DATA_TESTS
all the tests here are based of of theoretical calculations, to basically see if the theory is measureable.
-
TEST_1: looks at the difference of different wavelength light passing through the air. trying to figure out if my concept was possible. TEST_1_zonder_round lets out the full intensity, this is used later on
-
TEST_2: this tests if I can calculate backwards, to get the humidity back again.
-
TEST_3: testing the intensity loss, but now at temperature T.
-
TEST_4: his tests if I can calculate backwards, to get the humidity back again, but now at temperature T.
-
TEST_5: his tests if I can calculate backwards, to get the humidity back again, but now at random temperature T.
-
TEST_6: looks at real life situations, so when I calculate what the measured intensity should be, I round it. this is because in real life I can not measure at 10 decimal watts
-
TEST_7: a 3D plot and 3D surface plot of the loss of intensity in percentage, over the axes: path lenght and humidity
-
TEST_8: using the law of large numbers to estimate the error in my calculations
-
TEST_9: makes 3 plots to show the error percentage, using path length from 0 to 1 meters and 3 different decimals: 1 mwatt, .1 mwatt and .01 mwatt
-
TEST_10: calculates the intensity at a certain diameter of the laser pulse, given the power of the laser
-
TEST_11: calculates the system that this project has in mind. Because the detector gives a current based on the incoming intensity. This means we can use Ohm's Law to calculate this current over a resistor with a potentiometer. This pyfile tests/calculates if this is measureable theoretically
-
TEST_12: This file uses the same principle as TEST_11 to see what the optimal conditions would be for a reallife test setup. The file prints the best result, with the parameters.
-
TEST_13: plots the difference in current between a certain humidity, for different intensities and over a certain path length
-
TEST_14: theoretically tests the whole system for different parameters and plots them. Intensity is set at a reasonable amount (for the chosen detector). the different variables are distance (colomn) and resistor (rows)
-
TEST_15: has the same parameters as TEST_14, but now it theoretically calculates the difference between 2 humidity % points. So it takes the i+1 humidity and subtracts the i humidity values for the voltage.
-
TEST_16: This calculates in the same way TEST_14 does, but now it has errors in measurements added. So it theoretically calculates the error om resistor, diameter of the laser beam and error in path length. That is why it drops to 0 at the last data point.
-
-
measurements
This is where you can find the data from my performed measurements.