This project is made up of several smaller components, each with their own unique functionality:
- The ESP32 component is a microcontroller that is used for a communication with RaspberryPi. And connection with a phone intercom system to open the gates
- The RaspberryPi component is a single-board computer that is ideal for use in projects that require more computational power than a microcontroller can provide. In this case it opens websocket connection to the server and wait for special message, when that message is received it, announces it on mqtt broker so EPS32 can see it.
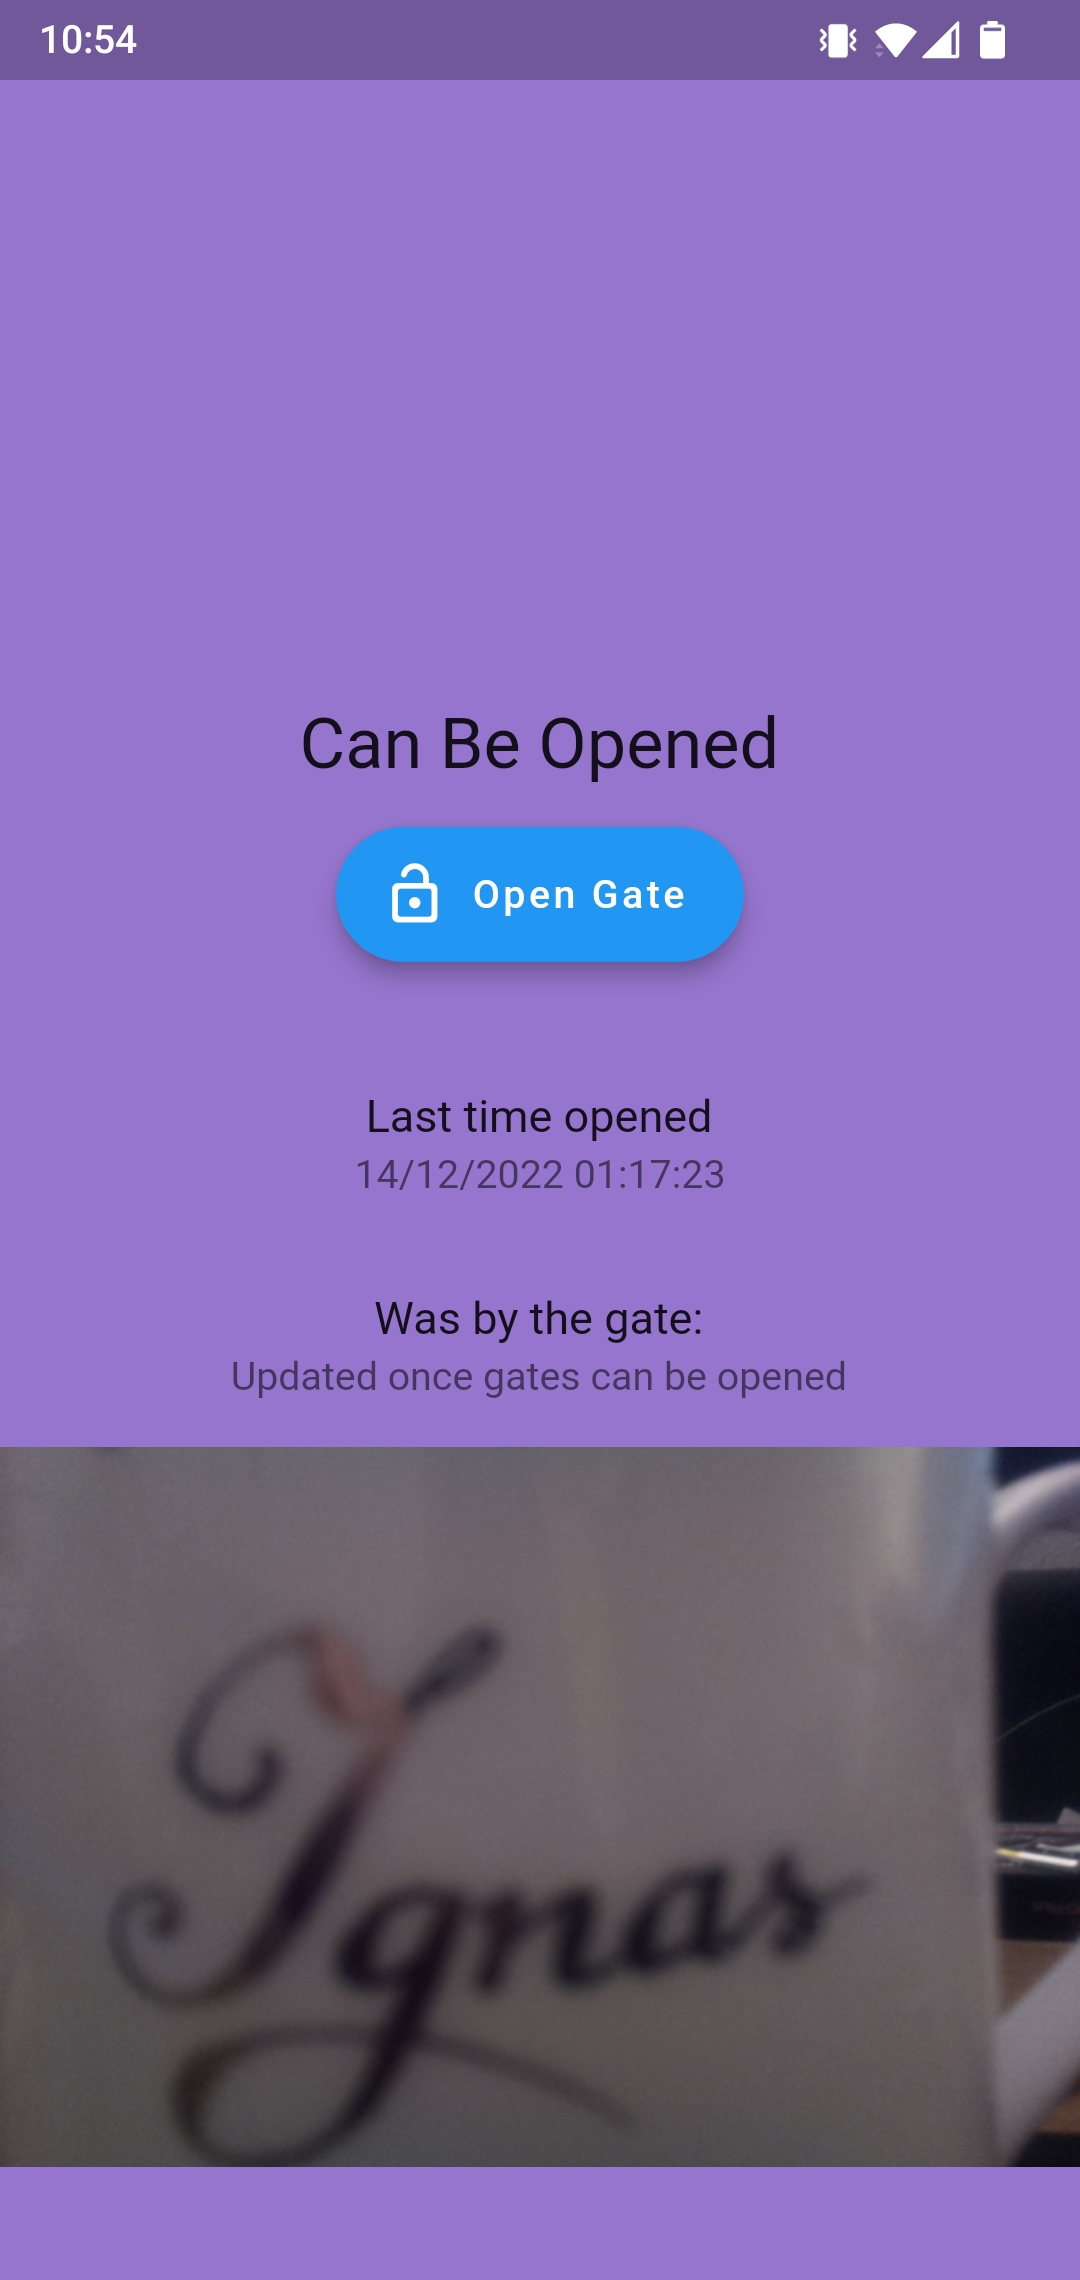
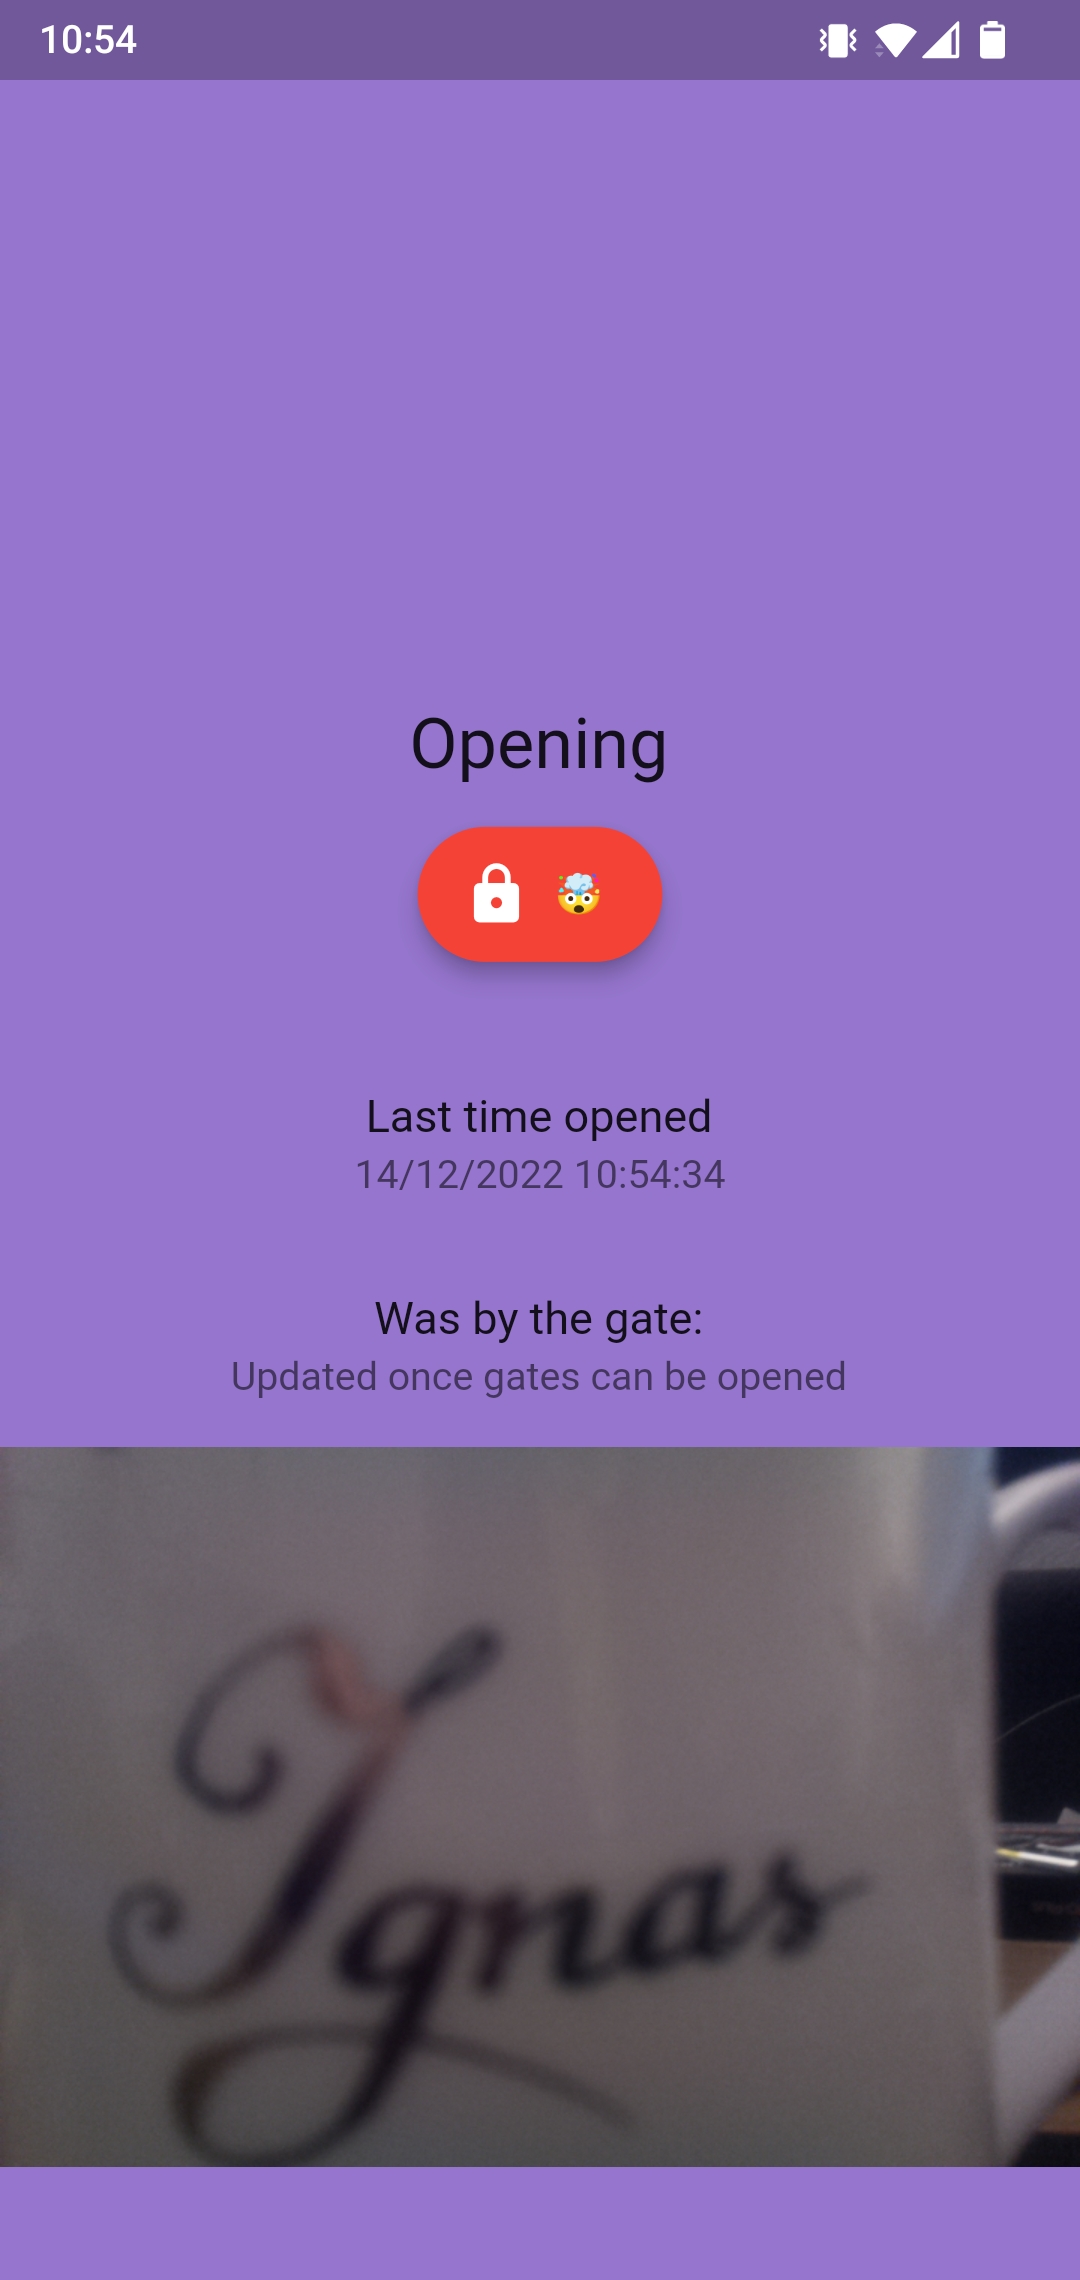
- The mobile application component of this project allows users to control and monitor the other components of the project from their mobile devices. It provides a convenient and user-friendly interface that makes it easy to see when is the last time the gate was opened, who was by the gate and has a simple button to OPEN the gate.
To use this project, you will need to have the following components:
- ESP32 microcontroller connected to Relay to control the intercom
- RaspberryPi with SenseHat and camera module
- Mobile phone running Android
- Firebase account with Realtime Database and Storage
In order to use this project outside of your local network, you will need to do port forwarding or use a cloud hosting provider.
In addition, you will need to have the following software installed:
python3
pip
mosquito broker (on RaspberryPi)To install this project, follow these steps:
- Clone the repo
git clone https://github.com/Ygnas/IoT-Application
- Open the Firebase console and create a new project https://console.firebase.google.com/
- After your project is ready, you can create a Realtime Database and Storage.
- In the Service Accounts tab Generate new private key
- In RaspberryPi folder copy generated private key content to serviceAccountKey.json and fill up .env file
- Install required packages to your Raspberry Pi and/or your cloud host (if using it)
cd RaspberryPi pip install -r requirements.txt - Now you are ready to launch everything
- On your Raspberry Pi
python client.py
- On your cloud host
python server.py
- If not using cloud host you can launch both on Raspberry Pi using tmux/screen
- Flash your esp32 from ESP32 folder. (don't forget to fill up your details in AppSecrets.h)
- Connect it to your intercom system (you will have to figure that your self as every system is different)
- Install gate_app.apk to your android phone (or build it for Iphone) https://firebase.google.com/docs/flutter/setup?platform=android/
- Open the gate from your phone 🤯😎🥳
Open phone application, and press the button 'Open Gate'.
Contributions are what make the open source community such an amazing place to learn, inspire, and create. Any contributions you make are greatly appreciated.
If you have a suggestion that would make this better, please fork the repo and create a pull request. You can also simply open an issue. Thanks again!
- Fork the Project
- Create your Feature Branch (
git checkout -b feature/AmazingFeature) - Commit your Changes (
git commit -m 'Add some AmazingFeature') - Push to the Branch (
git push origin feature/AmazingFeature) - Open a Pull Request