Install PowerDNS Admin in Ubuntu 14.04 LTS or 16.04 LTS
This guide was tested on the server versions of Ubuntu 14.04 LTS and 16.04 LTS. This guide can be followed from a bare bones Ubuntu install and should apply to most users.
- git
- python
- python-pip
- python-dev
- libmysqlclient-dev (or libmariadbclient-dev if you are using MariaDB)
- libsasl2-dev
- libldap2-dev
- libssl-dev
Follow the Prepare MySQL or MariaDB Database for PowerDNS-Admin guide to get your database ready.
- ivan@ubuntu:~$
sudo apt-get install git python-pip python-dev libmysqlclient-dev libsasl2-dev libldap2-dev libssl-dev - ivan@ubuntu:~$
sudo pip install virtualenv - ivan@ubuntu:~$
git clone https://github.com/ngoduykhanh/PowerDNS-Admin.git - ivan@ubuntu:~/PowerDNS-Admin$
cd PowerDNS-Admin - ivan@ubuntu:~/PowerDNS-Admin$
virtualenv flask - ivan@ubuntu:~/PowerDNS-Admin$
source ./flask/bin/activate - (flask) ivan@ubuntu:~/PowerDNS-Admin$
pip install -r requirements.txt - (flask) ivan@ubuntu:~/PowerDNS-Admin$
cp config_template.py config.py - (flask) ivan@ubuntu:~/PowerDNS-Admin$
vim config.pyor use your favorite editor
- The most important options to change in
config.pyare -
PORT = 9393defines port number on which PowerDNS-Admin will run on -
SQLALCHEMY_DATABASE_URI = 'mysql://root:[email protected]/pdns'defines the connection to your database- replace
rootwith your database username, if you followed the preparation guide this will bepdnsadminuser - replace
123456with your database password, if you followed the preparation guide this will bep4ssw0rd - replace
192.168.59.103with your database hostname or IP address - replace
pdnswith your database name, if you followed the preparation guide this will bepowerdnsadmin
- replace
-
PDNS_STATS_URL = http://172.16.214.131:8081defines where your PowerDNS server API can be located -
PDNS_API_KEY = 'you never know'defines your PowerDNS API key- This need to be the same as the
experimental-api-keysetting in your PowerDNSpdns.conffile
- This need to be the same as the
- (flask) ivan@ubuntu:~/PowerDNS-Admin$
./create_db.py
- If you do
pip install -r requirements.txtsuccessfully but get message likeERROR: Couldn't connect to database serverat this step, try to dopip install mysqlin virtualenv. (#126)
- (flask) ivan@ubuntu:~/PowerDNS-Admin$
./run.py
PowerDNS-Admin does not come with an Administrator user built in, the first created user will become an Administrator automatically.
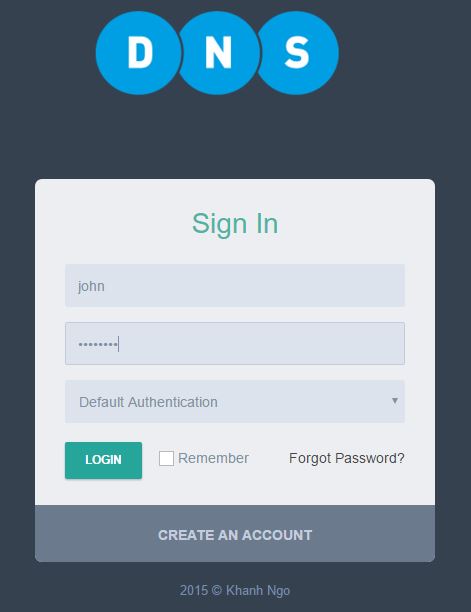
- Open http://127.0.0.1:9393 (or your server address) in your browser
 2. Click
 Create an account
3. Fill in the form and hit Submit
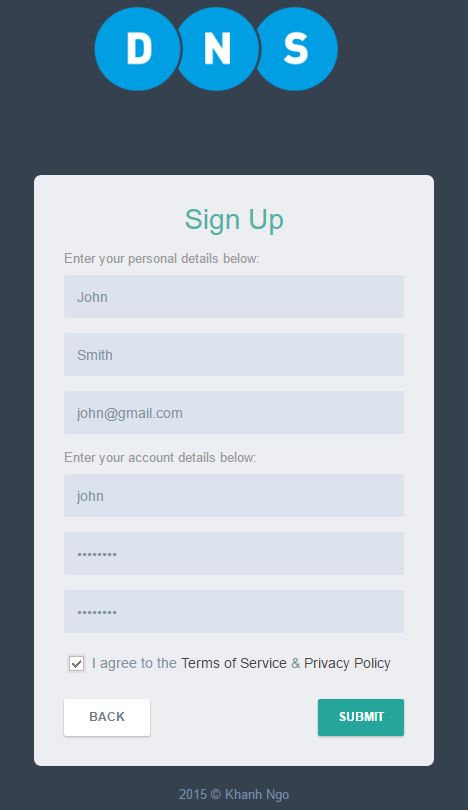 4. Sign in as the new Administrator user