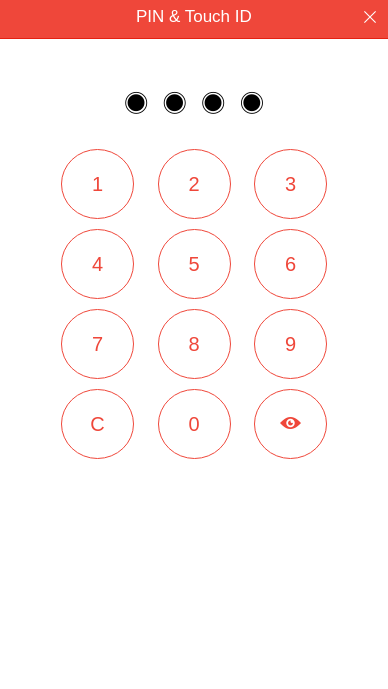
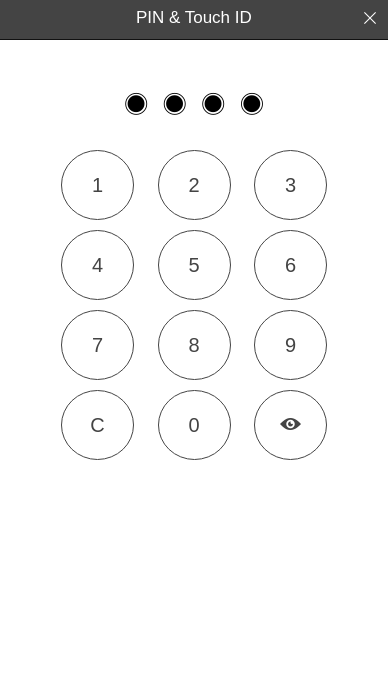
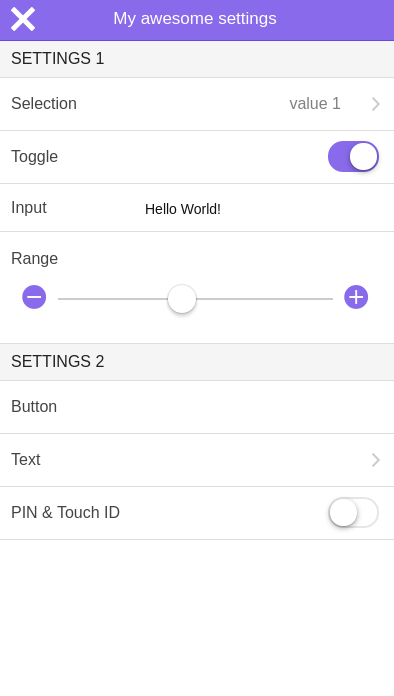
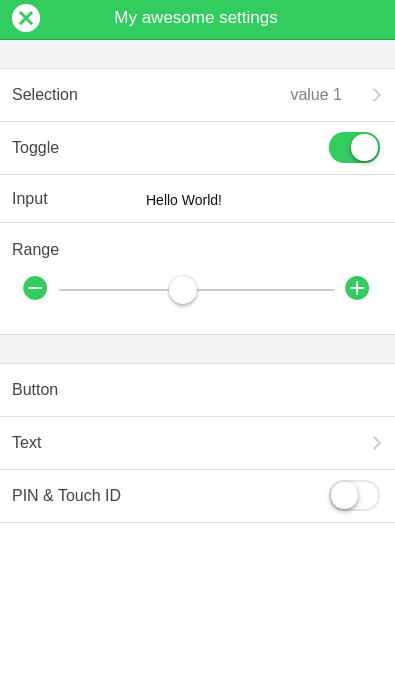
##1. Introduction
This plugin provides settings and lock screen for your ionic app. The keys and values are stored as app preferences on condition that you have installed
the app preferences plugin, otherwise they are stored in localStorage.
You can test the plugin via the ionic view app with the ID 141b234c.
##1.1 Features
- 5 setting types:
selection,toggle,input,rangeandpin - 2 read-only types:
buttonandtext - grouping of settings
- including settings into a view or modal view
- customizing of settings appearance (color, icons and button positions)
- storage as app preferences using the above mentioned plugin, otherwise in
localStorage - touch id support if the touch id plugin is installed
##1.3 Demo
Note: To test the lock screen feature respectively settings persistence please reload the demo after value changing.
##1.4 License
##1.5 Versions
###1.6 Author
- E-Mail: [email protected]
- Twitter: https://twitter.com/hybrid_app
- Github: https://github.com/ivandroid
- Ionic Market: https://market.ionic.io/user/6540
- Your support: If you find this project useful and want support its development you can press the button below or star the project. Thanks in advance!
##2. Usage
-
Get the files from here or install from bower:
bower install ionic-settings -
Include the javascript and css files or the minified versions into your
index.htmlfile.<link href="style/css/ionic-settings.min.css" rel="stylesheet"> <script src="dist/ionic-settings.min.js"></script>
-
Add the module
ionicSettingsto your application dependencies:angular.module('starter', ['ionic', 'ionicSettings'])
-
Settings are defined according to the following pattern:
var settings = {
    label1: 'Group 1', // OPTIONAL GROUP LABEL
    mySelection: { // KEY
        type: 'selection',  // TYPE
        values: ['value 1', 'value 2', 'value 3', 'value 4', 'value 5'], // IN THIS CASE: SELECTION ARRAY
        label: 'Selection',  // LABEL
        value: 'value 1', // VALUE
        icon: 'ion-checkmark-round' // OPTIONAL ICON
    },
    myToggle: {
        type: 'toggle',
        label: 'Toggle',
        value: true,
        icon: 'ion-toggle'
    },
    myInput: {
        type: 'input',
        label: 'Input',
        inputType: 'text',
        value: 'Hello World!',
        icon: 'ion-edit'
    },
    myRange: {
        type: 'range',
        label: 'Range',
        iconLeft: 'ion-minus-circled',
        iconRight: 'ion-plus-circled',
        min: 0,
        max: 100,
        value: 50
    },
    label2: 'Group 2',
    myButton: {
        type: 'button',
        label: 'Button',
        icon: 'ion-disc',
        onClick: function() {
            alert('Hello world!');
        }
    },
    myText: {
        type: 'text',
        label: 'Text',
        icon: 'ion-document-text',
        value: '<p class="padding">Hello World!</p>'
    },
    myPin: {
        type: 'pin',
        label: 'PIN & Touch ID',
        value: '',
        icon: 'ion-locked',
        onValid: function() { // OPTIONAL ACTION ON VALID PIN
            alert('Success!');
        },
        onInvalid: function() {  // OPTIONAL ACTION ON INVALID PIN
            alert('Fail!');
        }
    }
};
-
To initialize the settings invoke the
init()method of the$ionicSettingsservice (returns promise) passing your settings model object. If you'd like to protect your app with a pin / touch id, make sure to initialize your settings before the main state of your app is loaded like shown below.// INITIALIZATION IN CONFIG PHASE (USING PIN) angular.module('starter', ['ionic', 'ionicSettings']) .config(function($stateProvider, $urlRouterProvider) { $stateProvider .state('main', { url: '/main', abstract: true, templateUrl: 'templates/main.html', resolve: { settings: function($ionicSettings, $ionicPopup) { var settings = { toggle1: { type: 'toggle', label: 'Toggle 1', value: true }, toggle2: { type: 'toggle', label: 'Toggle 2', value: false }, pin: { type: 'pin', label: 'PIN', value: '', onValid: function() { $ionicPopup.alert({ title: 'Success', template: 'Welcome!' }); }, onInvalid: function($event, wrongPinValue) { $ionicPopup.alert({ title: 'Fail', template: 'Wrong pin: ' + wrongPinValue + '! Try again.' }); } } }; return $ionicSettings.init(settings); } } }) }); // INITIALIZATION IN CONTROLLER (WITHOUT PIN) angular.module('starter.controllers', []) .controller('YourCtrl', function($scope, $ionicSettings) { $ionicSettings.init({ awesomeSelection: { type: 'selection', values: ['one', 'two', 'three'], label: 'Awesome Selection', value: 'two' }, coolToggle: { type: 'toggle', label: 'Cool toggle', value: true } }); });
-
To include your settings into a view simply use the
ion-settingsdirective within theion-contentelement. To show the settings as modal add the directiveion-settings-buttonto the navigation bar. Pressing this button opens the modal.<ion-view> <ion-content> <ion-settings></ion-settings> </ion-content> </ion-view> <ion-view> <ion-nav-buttons side="right"> <ion-settings-button></ion-settings-button> </ion-nav-buttons> <ion-content> </ion-content> </ion-view>
##3. Configuration provider
Via the $ionicSettingsConfigProvider the following options can be set in the configuration phase:
| option | description | type | accepted values | default value |
|---|---|---|---|---|
| color | color of setting elements | string | ionic color names | positive |
| icon | settings icon | string | ion-icons | ion-android-settings for Android and ion-ios-gear for iOS |
| iconClose | close button icon | string | ion-icons | ion-android-close for Android and ion-ios-close-empty for iOS |
| iconClosePosition | close button icon position | string | right, left | right |
| modalAnimation | modal animation | string | ionic modal animation identifiers | custom animation for Android (ionic-settings.scss) and slide-in-up for iOS |
| title | settings title | string | text | Settings |
| touchID | touch id support | boolean | true, false | true |
angular.module('starter', ['ionic', 'ionicSettings'])
.config(function($ionicSettingsConfigProvider) {
    $ionicSettingsConfigProvider.setColor('assertive');
    $ionicSettingsConfigProvider.setIcon('ion-wrench');
    $ionicSettingsConfigProvider.setIconClose('ion-close-circled');
    $ionicSettingsConfigProvider.setIconClosePosition('left');
    $ionicSettingsConfigProvider.setModalAnimation('slide-in-up');
    $ionicSettingsConfigProvider.setTitle('My awesome settings');
    $ionicSettingsConfigProvider.setTouchID(false);
});##4. Services
Using this service you have access to the following events and methods:
| event | description | return-value |
|---|---|---|
changed |
Setting changed event | object containing key and value of a changed setting |
| method | description | return-value |
|---|---|---|
get(key) |
Getting a value by key | value of a given key |
getData() |
Getting all settings keys and values | object containing all key value pairs |
init(modelObject) |
Initializing of settings passing your settings model object | initialized settings model object as promise |
set(key, value) |
Setting a value by key | none |
angular.module('starter.controllers', [])
.controller('YourCtrl', function($rootScope, $ionicSettings) {
   $rootScope.$on($ionicSettings.changed, function($event, changedSetting) {
       alert(changedSetting.key + ' -> ' + changedSetting.value);
   });
});angular.module('starter.controllers', [])
.controller('YourCtrl', function($scope, $ionicSettings) {
$scope.set = function(key, value) {
$ionicSettings.set(key, value);
};
$scope.get = function(key) {
alert($ionicSettings.get(key));
};
});##5. Directives
Use this directive to include your settings into a view.
<ion-view>
    <ion-content>
        <ion-settings></ion-settings>
    </ion-content>
</ion-view>Use this directive to include the settings button to the navigation bar and use settings as modal.
<ion-view>
    <ion-nav-buttons side="right">
        <ion-settings-button></ion-settings-button>
    </ion-nav-buttons>
    <ion-content>
    </ion-content>
</ion-view>


