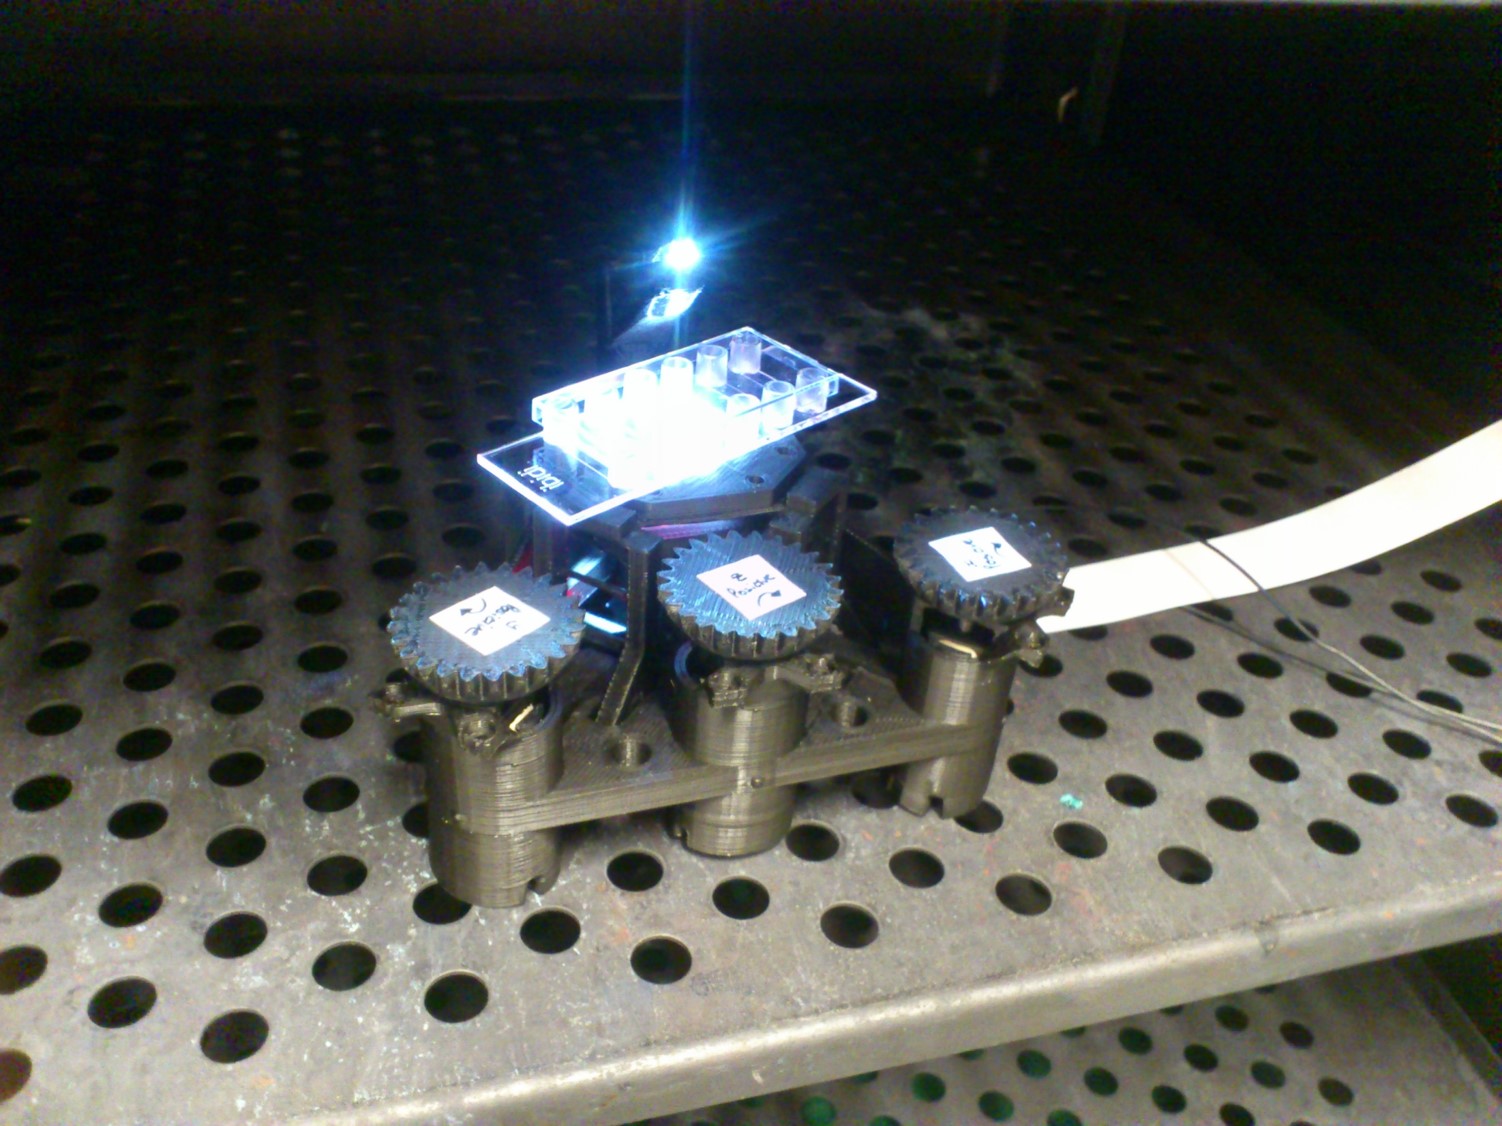
The OpenFlexure Microscope is a 3D printable microscope, including a precise mechanical stage to move the sample and focus the optics. There are many different options for the optics, ranging from a webcam lens to a 100x, oil immersion objective.
The trick of making a microscope out of a webcam has been around for a little while, and produces good results. However, getting a nice mechanical stage to focus the microscope and move around on the sample is tricky. This project is a 3D printable design that enables very fine (sub-micron) mechanical positioning of the sample and the lens, with surprisingly good mechanical stability. It's discussed in various media articles and a paper in Review of Scientific Instruments (open access).
Most of the development of this design has been done as part of Richard's research - if you're interested in studying for a PhD at the University of Bath in the field of open-source scientific instrumentation, please get in touch! There's currently a post being advertised (funding for home or EU students) but if you have funding or are interested in applying for it, do get in touch anyway :)
This project is open-source and is released under the CERN open hardware license. You can buy a kit of the microscope from WaterScope. Currently, the kits being sold are version 5.15 and if you're looking for the assembly instructions they are in the version 5.16 release.
To build the microscope, go to version 5.16 release and download the STL files and instructions. Don't just print everything from the STL folder, as currently it contains some parts that must be printed multiple times, and other parts that are redundant. The assembly instructions contain instructions on what parts to print - or you can consult the readme file in the builds folder if you want the latest version. The top-level STL folder is a bit of a mixed bag of files generated during development; we've left it in the repository because it's helpful to share things with people, but there's no guarantee the files in there are up to date, or compatible with any particular version of the microscope.
If you've built one, let us know - add yourself to the wiki page of builds or submit a build report issue. This is a really helpful thing to do even if you don't suggest improvements or flag up problems.
The previous release is on DocuBricks, and I will add the latest version once it's been road-tested a bit further.
The instructions are in DocuBricks XML format, which is like an open-source version of Instructables (with the advantage that the files live on GitHub so they can be easily version controlled, etc.). There are instructions in the docs folder, but it's now also possible to view the current development documentation online. You can also view instructions from a specific commit or branch.
This project is open so that anyone can get involved, and you don't have to learn OpenSCAD to help (although that would be great). Ways you can contribute include:
- Get involved in discussions on gitter
- Share your microscope images (of both microscopes and what you've seen with them) in the gallery
- Raise an issue if you spot something that's wrong, or something that could be improved. This includes the instructions/documentation.
- Suggest better text or images for the instructions.
- Improve the design of parts - even if you don't use OpenSCAD, STL files or descriptions of changes are helpful.
- Fork it, and make pull requests - again, documentation improvements are every bit as useful as revised OpenSCAD files.
Things in need of attention are currently described in issues so have a look there if you'd like to work on something but aren't sure what.
Most of the Openflexure Microscope stuff lives on GitHub, under my account. Particularly useful ones are:
- The "sangaboard" motor controller based on an Arduino Nano + Darlington Pair ICs, developed collaboratively with STICLab
- The "fergboard" motor controller by Fergus Riche
- An as-yet-quite-basic set of scripts that should become the microscope software
- The higher precision, smaller range block stage
- Some characterisation scripts for analysing images of the USAF resolution test target
If you want to print the current development version, you can compile the STL from the OpenSCAD files - but please still consult the DocuBricks documentation for quantities and tips on print settings, etc. You can use GNU Make to generate all the STL files (just run make all in the root directory of the repository). More instructions, including hints for Windows users, are available in COMPILE.md.
