Automatically translate and review your content via Lokalise
DEMO VIDEO : https://www.youtube.com/watch?v=5gyPa9YW020
This extension will work as a bridge between Pimcore and Lokalise for the purpose of automating the whole translation workflow. Thus eliminating most of the manual steps in the task along with availing quality translation-review service from Lokalise.
- Translation & Review - Data Objects, Documents, and Shared Translation
- Workflow management
- Translation progress tracking
- Works with Bulk Objects - Push and Pull for Translation
- Auto push on publish event in Document and Object (New)
- Individual Object Sync (New)
- Pimcore 11
composer require pdchaudhary/lokalise-pimcore:3.0- Pimcore 10
composer require pdchaudhary/lokalise-pimcore:2.x- Pimcore 5.8 or 6.x
composer require pdchaudhary/lokalise-pimcore:1.0.7- Open Pimcore admin panel
- Go to Setting and click on Bundles
- Click on plus icon(+) to enable the plugin
- Then add “lokalise_api_key” in website setting from (Setting -> Website settings)
- Generate the api key from Lokalise with read and write access. To learn how to generate Lokalise api key please refer to Lokalise documentation.
- Now that the Lokalise bundle is enabled and configured, to install go to Settings -> Bundles -> Install(+ icon) against the Lokalise bundle.
- The installation process involves creating 3 projects within Lokalise one each for Documents, Objects and Shared Translations. The projects in Lokalise would be created to have the same number of languages as defined in Pimcore settings. Post creation of projects in Lokalise, their Lokalise projectids would be added to websitesettings. If in case the projects already exist in Lokalise, their projectids would be synced to websitesettings.
- The installation is now successfully completed.
There are two flows in the document translation.
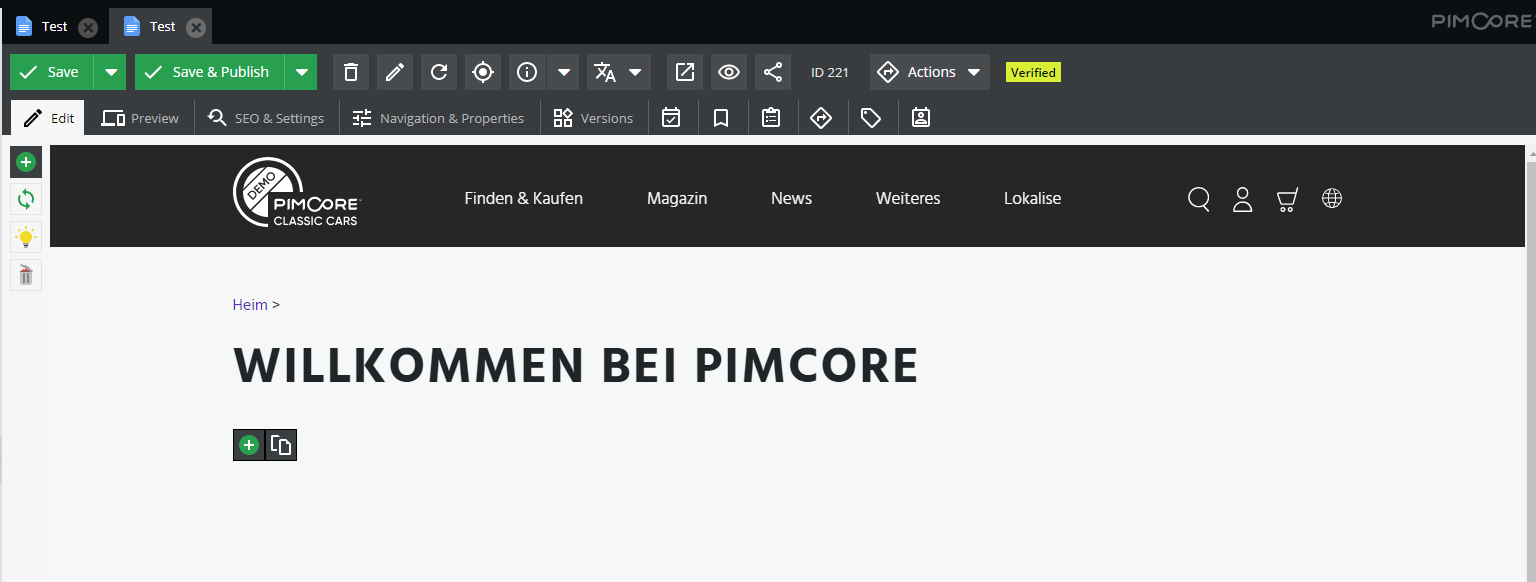
- After opening a document. Lokalise Translate Dropdown will be available on the toolbar. A “Create” option is available in the dropdown for new documents.

- Clicking on the “Create” button, it will open the modal form for language-navigation-title configuration. After filing this form click on the “Apply” button.

- After clicking on the “Apply” button, it will generate keys into Lokalise and then it will change the status for the parent document to “Sent”.

- Then to get the translations of document keys from Lokalise by the translation would have to be verified & reviewed.

- After that you need to run document sync from proccess manager. a child document for that language is automatically generated with the received translation keys and also it will be set verified for that child document or you can also run.


- After updating the main document, click on the “Update” button in the Lokalise dropdown.
- Note that Update option is only available when their child documents are already created from Lokalise.

- After clicking on the “Update” button, It will update keys in Lokalise. The document state will change to “Updated”.
- Only the updated component/keys would be sent for the update in translation. Those keys would be set to unverified at Lokalise end, and would be required to be verified in order to get them updated in Pimcore.

- Need to Click Document sync aftet that it will check full document translation in a certain language is done. If so, a child document for that language is automatically updated with the received translation keys and also it will be set verified for that child document.
Note : Don’t push the keys if parent(path) document is not available for child documents For example: I want to generate a - > test page as de -> test page but de is not available then it will not work so first we need to generate de.
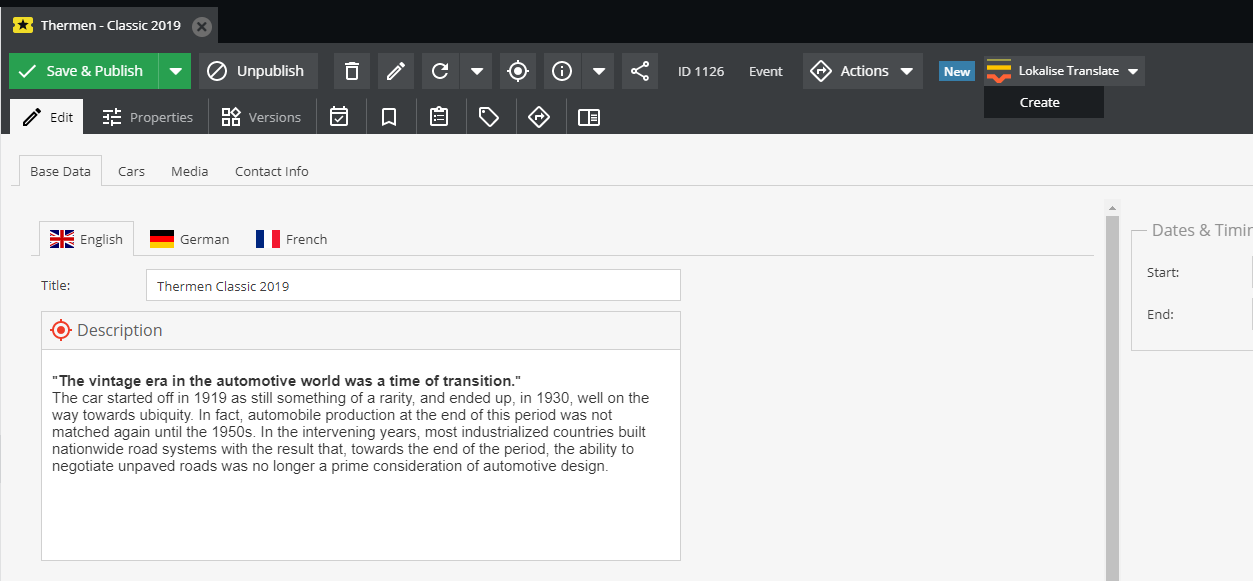
- In Object, fields/keys creation option is available at Toolbar -> Lokalise Dropdown -> Create.

- This will send the fields as keys to Lokalise and change the status of the Object from “New” to “Sent”.

- Need to click on object sync to get the translations of Object fields/keys from Lokalise by setting them reviewed and verified.
- Update object works the same as Update Document.
There are two jobs for that
- Generate/Update keys job (Push Shared translation)
- Sync keys job ( Pull Shared translation) It will generate/update and sync with Lokalise with those jobs.
Steps to enable auto push
- Goto website settings
- Add lokalise_auto_push setting with checkbox type
- Enable lokalise_auto_push
- Sync documents (Work as bulk pull)
- Sync objects (Work as bulk pull)
- Bulk Object Push
- Generate/Update Shared Translation keys
- Sync shared translation
- Sync Lokalise keys with Pimcore database
