General Use
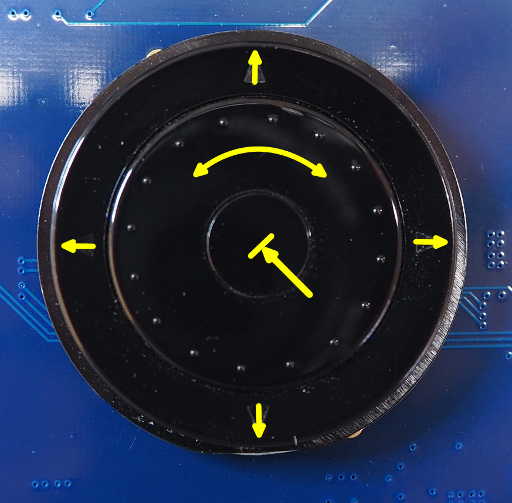
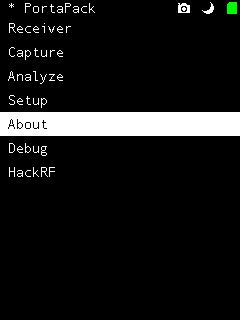
The PortaPack boots almost instantly into the top menu. Turn the navigation wheel clockwise or counter-clockwise to change the selected menu item. You may also use the navigation up and down arrow buttons. Press navigation center button ("select") to choose the menu item.
The microSD card socket is located along the top edge of the PortaPack, to the right of the LCD panel. The card must be inserted face down, as the socket is on the back side of the circuit board.
Current firmware does not support exFAT, as it is encumbered by Microsoft patents. Please ensure your microSD cards are formatted using the FAT32 format. Because of the FAT32 limitation, individual file sizes are limited to 4Gbytes.
I am not aware of any practical upper limit to the size of supported microSD cards. FAT32 does impose limits, but there are no microSD cards that are large enough to reach these limits. Apparently, the Windows operating system will not create FAT32 filesystems larger than 32GB, which is... odd.
Name-brand microSD cards are highly recommended. There are some terrible microSD cards being sold as no-name brands, or as counterfeit name brands, and aren't worth the frustration to save a little money. Bad cards will work erratically, or perform slowly, and wear out quickly -- if they work at all.
Because the PortaPack has no control over power, and can therefore not perform a gentle shutdown, please ensure you have exited any PortaPack application that actively writes to the microSD card before you remove power. Otherwise, you may wind up with a damaged file or card formatting / partition. The main menu is a safe time to unplug the power.
The status bar is visible at all times, and provides tools and status for general operation.
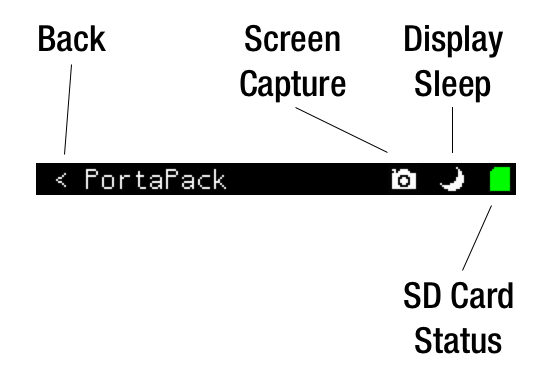
The screen capture button saves a .PNG file named "CAPTURE.PNG" to the micro SD card. It takes about two seconds to create this file, and the screen will freeze during this time. So don't be surprised! Also, the screen capture does not generate unique filenames, so a new screen capture file will overwrite an existing file.
The display sleep button turns off the PortaPack LCD. The PortaPack continues to operate, but reduces power consumption by approximately 300mW (15%) while the display is off. Press the "select" button on the navigation control to wake up the display.
The SD card status icon indicates if the SD card is present and functioning correctly (green), is not present (yellow with "?"), or is experiencing an error (red with "X").
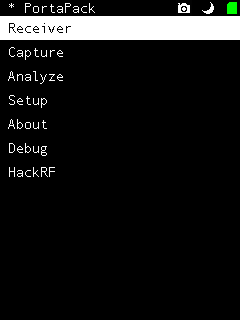
The PortaPack implements several varieties of audio receiver and decodes some digital transponder transmissions.
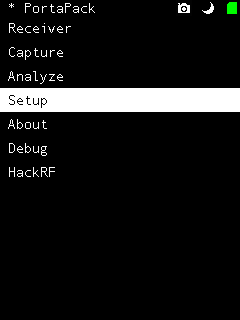
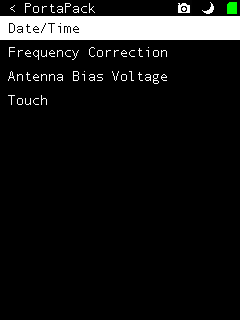
PortaPack configuration is done through the "setup" menu:
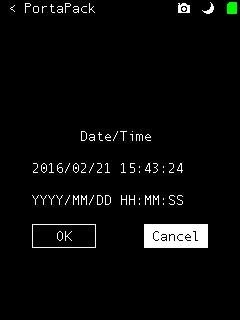
If your PortaPack is new or you have disconnected the PortaPack from your HackRF, you will need to reset the real-time clock via the "date/time" menu:
The crystal frequency reference on the HackRF has a typical tolerance of 10 parts per million (ppm). This can cause an offset in the tuning frequency, where a target signal will appear a bit higher or lower than the expected center frequency. You can compensate for this by adjusting the frequency of the clock reference. This is done through the "frequency correction" menu:

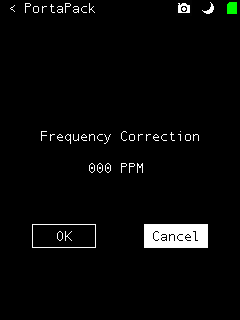
It may be easier to do this through the receiver mode, where you can tune a known-accurate signal and adjust the PPM value.
The HackRF One provides optional antenna bias voltage. Before enabling antenna bias voltage, ensure that everything attached to the HackRF antenna connector can accept a DC bias voltage. If any amplifier, filter, antenna, cable, or other attached hardware has a DC path or can't accept a DC voltage, damage to the equipment or HackRF or USB power supply may result. To enable or disable the antenna bias voltage, use the "antenna bias voltage" menu item:


Touch calibration is not yet implemented. Fortunately, the touch screens used in the PortaPack have been pretty consistent in touch screen accuracy. Plus, the current PortaPack design does not rely on touch operation, but only as an augmentation to features also available via the navigation controls.
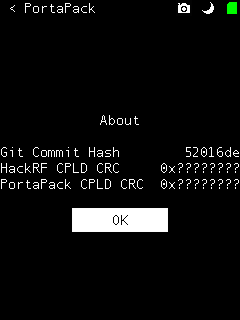
The "about" view displays details of the PortaPack firmware and bitstreams on the HackRF and PortaPack CPLDs.
The Git repository short commit hash indicates the version of firmware running on the device.
At present, the HackRF and PortaPack CPLD checksums are not calculated. However, at boot time, the PortaPack checks the PortaPack CPLD bitstream and upgrades it if it does not match the expected version.
Several simple debugging views are available in the debug menu:
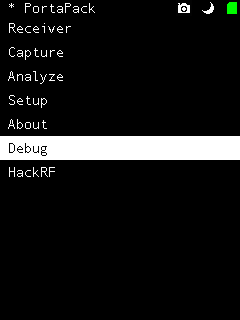
Processor memory, peripherals (various chip registers), and system temperature are currently implemented.
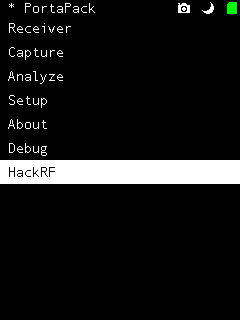
When the PortaPack firmware is running, the HackRF does not respond to a computer over USB. If you would like to use your HackRF One with a computer, you need to reboot the HackRF in "HackRF Mode". You can do this from the "HackRF" option in the top menu:
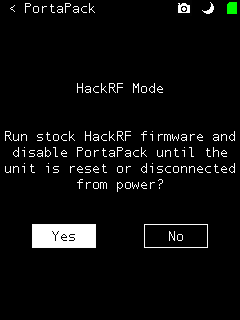
Select "Yes", and the HackRF will restart in HackRF Mode. This process takes less than one second. The HackRF can now interact with a computer over USB. The PortaPack screen will remain dark during HackRF Mode. When you are done with HackRF Mode, press the HackRF reset button or disconnect power from the HackRF.