The streamer uses RSS feeds as a source of content for an Alexa skill.
It supports three main functions at this time:
- Play
- Scan
- About
Play is fairly self-explanatory - it will take the first podcast in an RSS feed and begin playing it.
Scan plays snippets of audio about podcasts, allowing the user to choose which one they want to listen to.
The user simply says 'Alexa, Play Next' to jump into one of them.
The snippets are supplied as an extra element in the RSS feed, under an tag, like this:
<summary url="https://mypodcast.com/audio/PODCAST-104-SUMMARY.mp3" />
The about section simply plays information about the podcast.
It is also set as a custom element in the RSS feed under the channel element. It looks like this:
<about url="https://mypodcast.com/audio/ABOUT.mp3" />
Lastly, an introduction can be produced. This will be played whenever the listener first enters the Skill.
It is also set as a custom element:
<introduction url="https://mypodcast.com/audio/ABOUT.mp3" />
Here is a real introduction example.
If you would like to get started working with this project quickly, to see how the streamer works, just follow these directions.
You can take a look at the deploy README if/when you want to make the skill available publicly. These steps will allow you to get quickly setup and then do "frictionless iterations" on your code.
- Clone the project
git clone https://github.com/bespoken/streamer.git
cd streamer
npm install- Install Bespoken Tools
The Bespoken Tools (aka bst) make it easy to debug and develop your skills locally.
The proxy tool, which we will be using, works by redirecting traffic from the Alexa service directly to your development laptop or machine.
npm install bespoken-tools -g
- Run bst proxy to get setup
From the directory where you cloned the project, switch to the "js" folder and run the bst proxy:
bst proxy lambda lib/index.jsThe proxy will print out some basic information:
BST: v0.7.5  Node: v6.3.0

Your URL for Alexa Skill configuration:
https://proxy.bespoken.tools?node-id=83118179-ae4a-4132-8c15-82af566efa2b
The URL that is printed out will be used in the next step.
- Create or login to an Amazon Developer account. In the Developer Console:
Create an Alexa Skill named MySkill and using the invocation name "my skill" and select 'Yes' for Audio Player support:
Copy the contents of speechAssets/intentSchema.json and speechAssets/Utterances.txt into the intent schema and sample utterances fields on the Interaction Model tab:
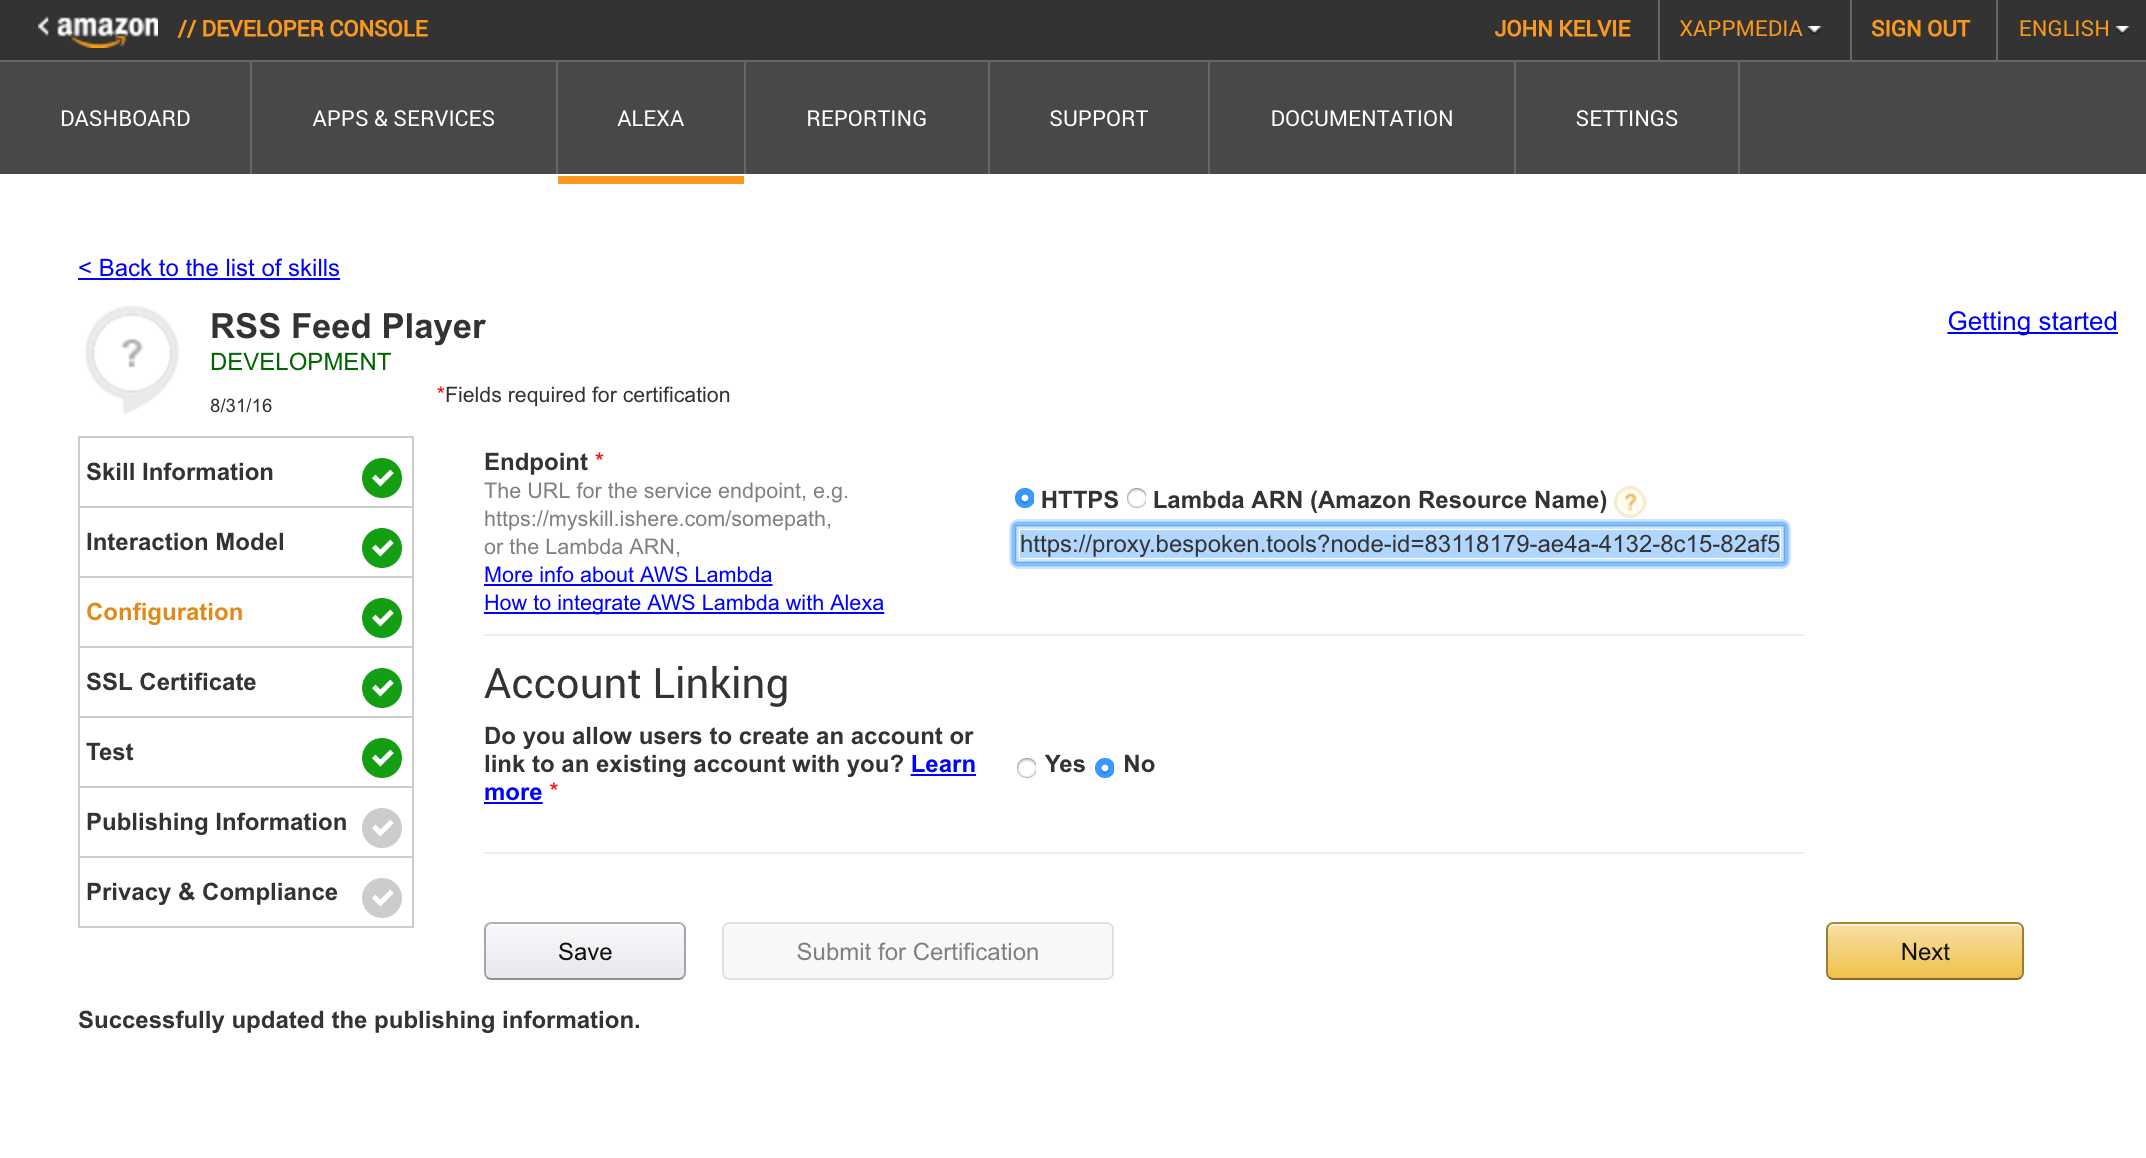
Set the URL from above in the Configuration tab:

- Try it out
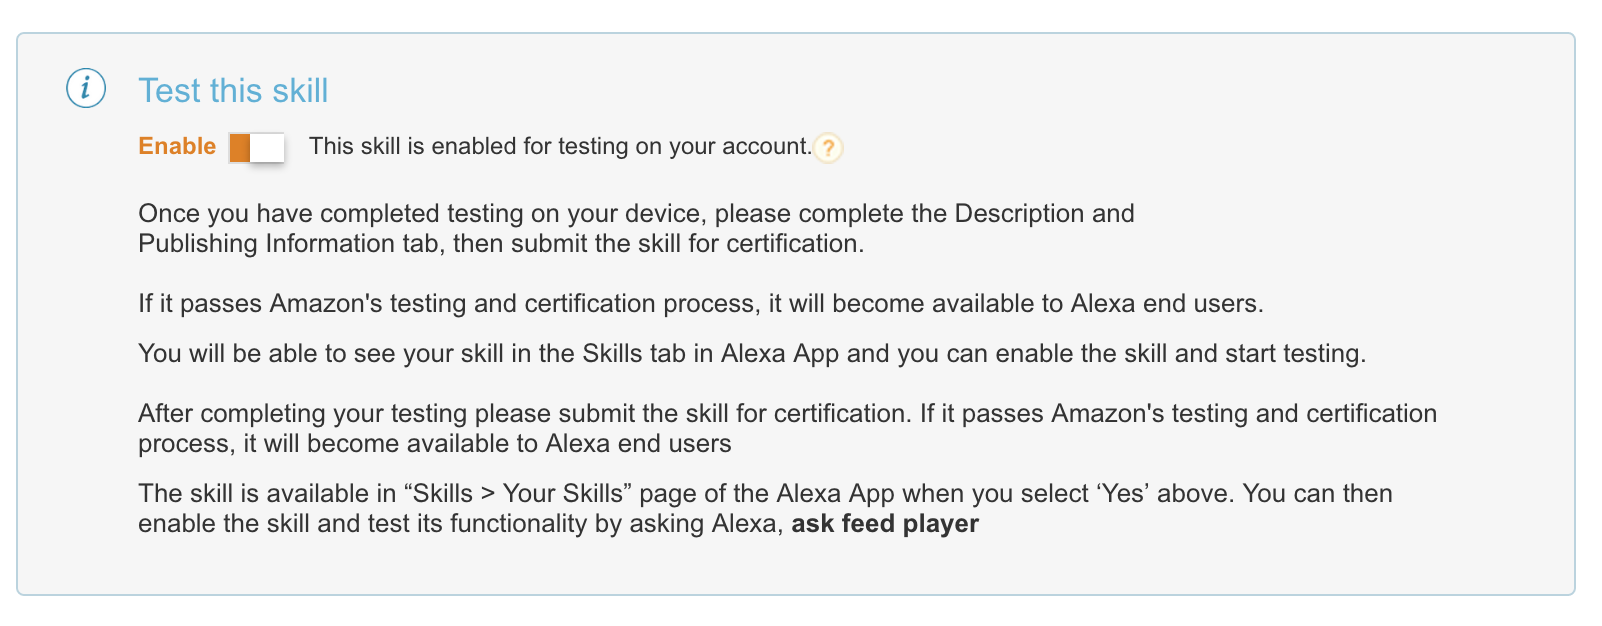
Via the Test tab, enable the skill for testing:

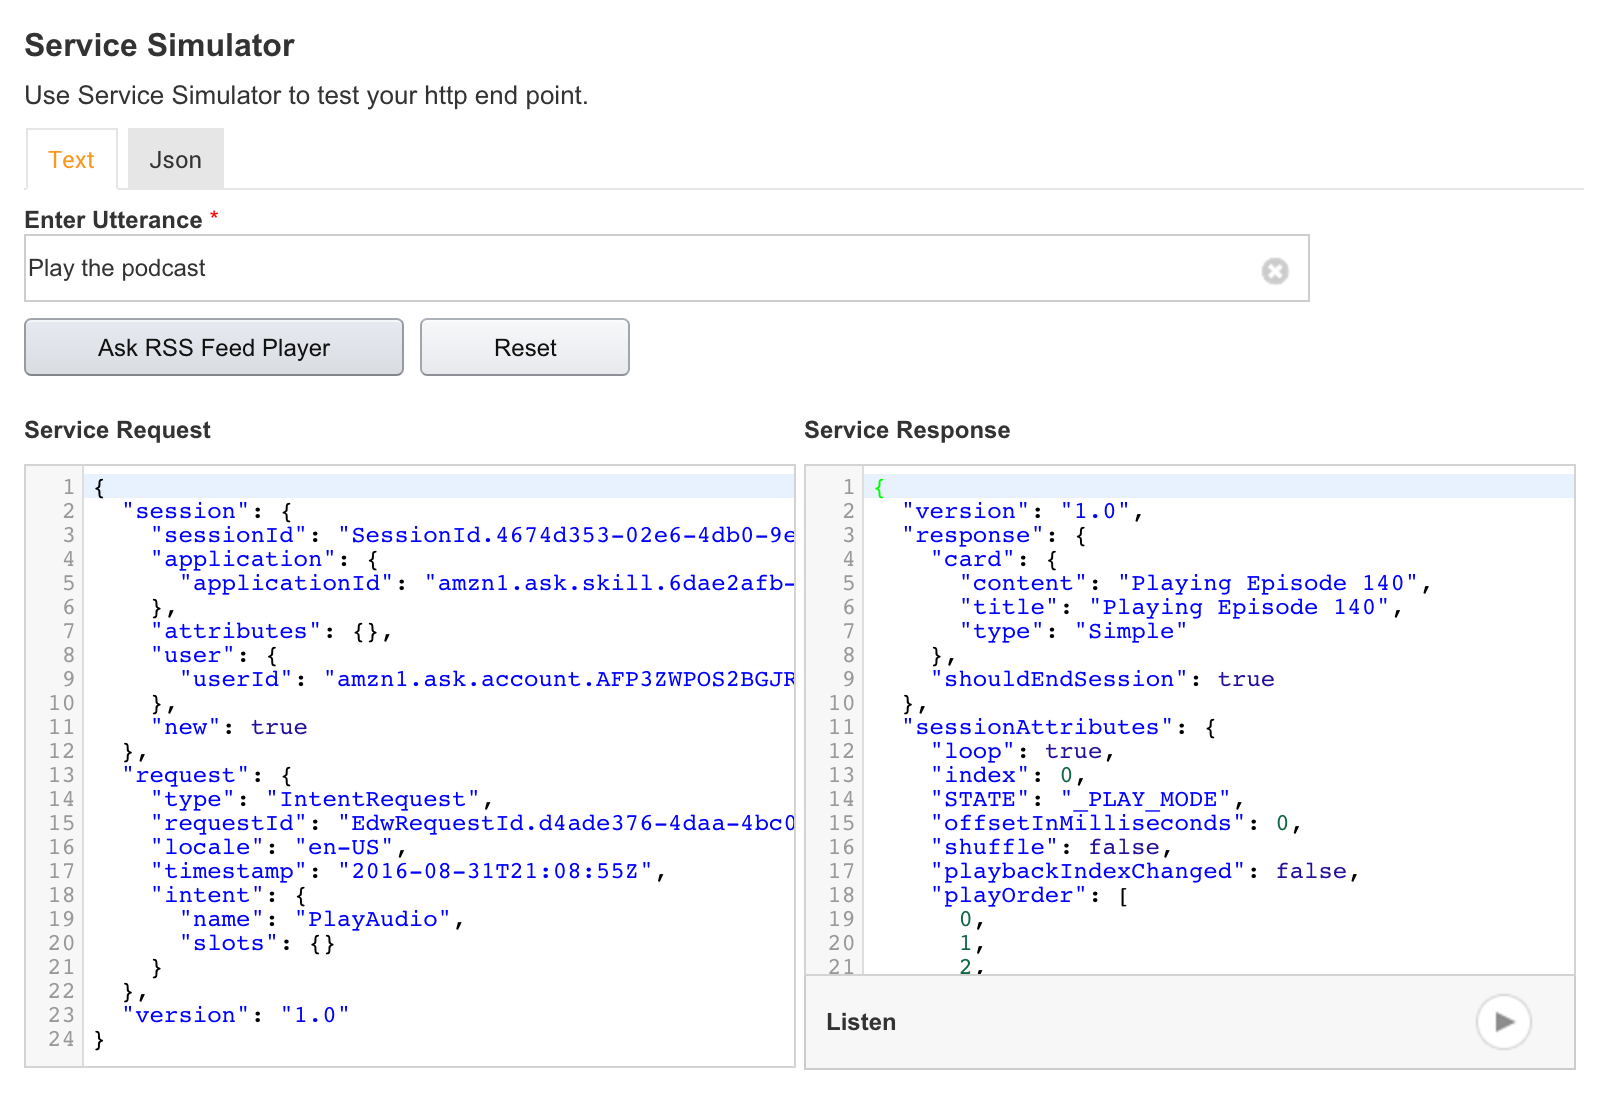
Then send an intent to your skill:

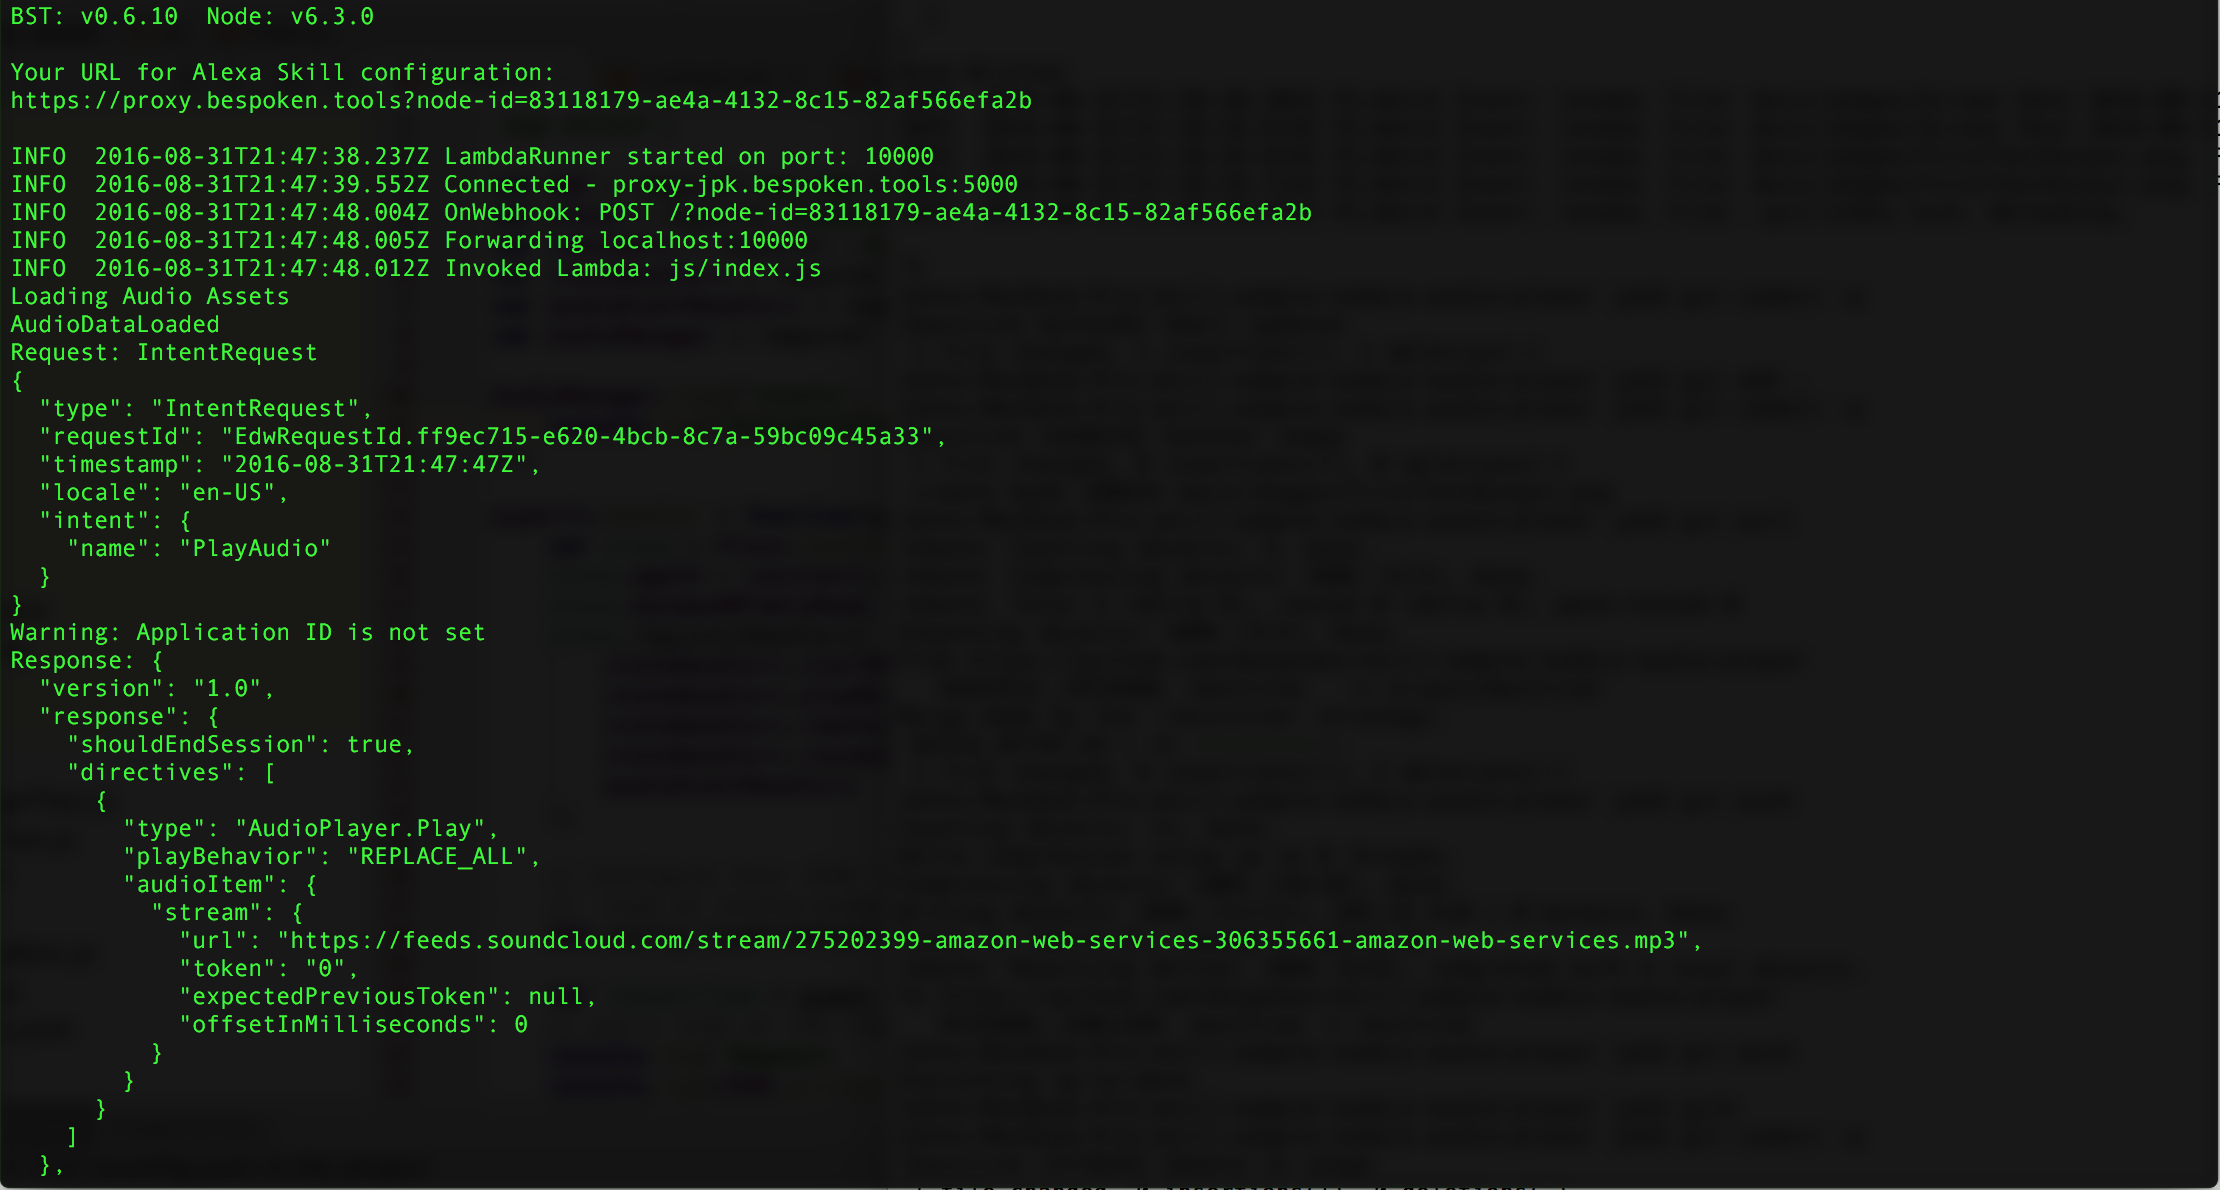
You will also see the output from your skill in the terminal window where the bst proxy is running:
Pretty cool, right?!
You can run wild with it now - make changes and see them show up instantaneously.
You can even test from your Alexa device - give it a try!
We love feedback - talk to us on Gitter at:
https://gitter.im/bespoken/bst


