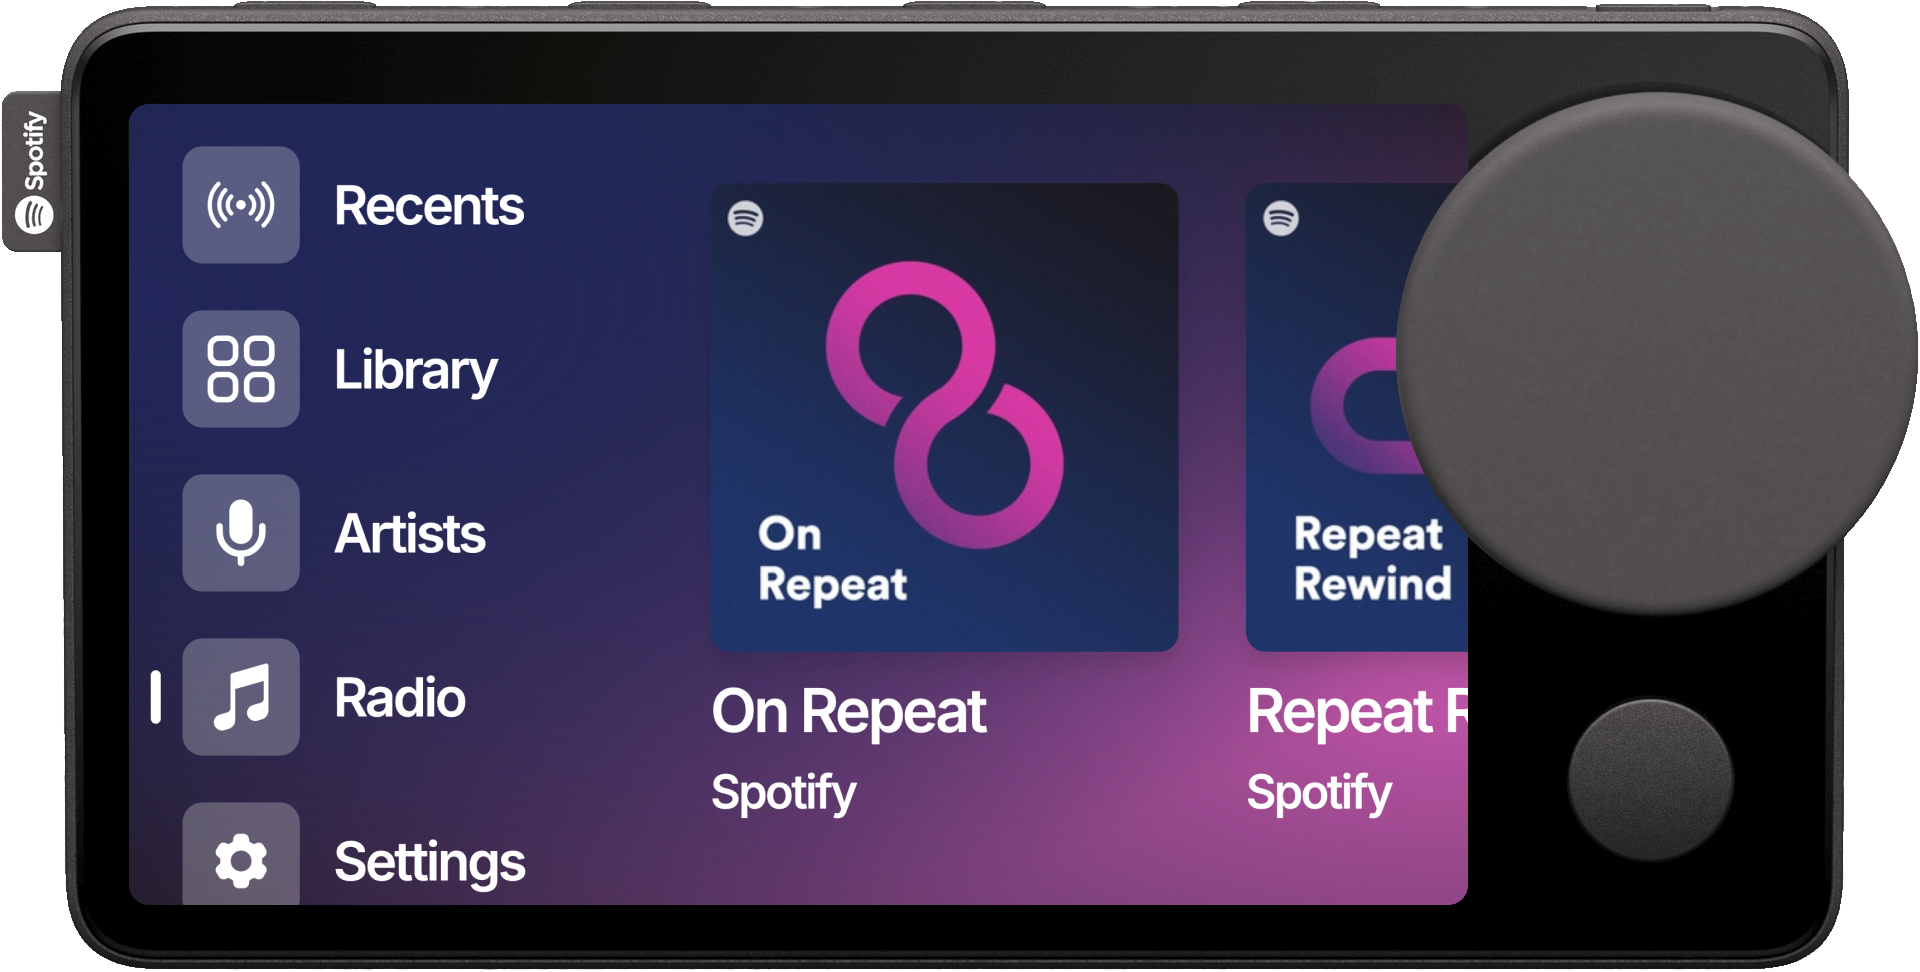
A web application for nocturne-image and the Spotify Car Thing.
How To Use • Local Development Setup • Donate • Credits • Related • License

- Follow the steps for your operating system in the image's repo.
- Once running on your Car Thing, scan the QR Code using your phone's camera.
- Authorize with Spotify and start using Nocturne!
Note
When connecting to Spotify, you may notice the app appears as 'Spotify for Desktop' - this is expected behavior and won't affect functionality.
- Hold one of the top hardware preset buttons while on a playlist page to map it to the button
- Press the mapped buttons to quickly play playlists
- Hold the right-most top hardware button to access settings
- Triple-press the right-most top hardware button to access brightness control
- Press the hardware button underneath of the knob to go back in the application
First, set up the configuration:
- Clone the repository:
# for upstream
git clone https://github.com/usenocturne/nocturne-ui.git
# for forks
git clone https://github.com/yourusername/nocturne-ui.git
cd nocturne-ui- Install dependencies:
npm install
# or
yarn install
# or
bun install- Copy the environment example file:
cp .env.example .env.local- Update your
.env.localwith the required values:
# Development Environment
NODE_ENV=development

# API Variables
NEXT_PUBLIC_API_BASE_URL=your_api_url
Now, it's time to:
Nocturne requires HTTPS to make API requests, so you need to set up HTTPS on the local server. This makes two different ways to run the dev server:
Method #1: Using Caddy
This will use Caddy as a reverse proxy in front of Next.js's dev server.
On the last step where you start the development server, use npx next dev and then in another tab/
window, caddy run to start. It will run on https://localhost:3443.
-
Install Caddy: this can be done with your OS package manager, or by downloading the executable from https://caddyserver.com/download.
-
Start the Next.js dev server:
npx next dev- In a different tab/window, start Caddy. This will run at https://localhost:3443.
caddy runThis may prompt you for a sudo password to install Caddy's certificate on your system, to make it automatically trusted.
First, install mkcert.
# macOS
brew install mkcert

# Windows (using chocolatey)
choco install mkcert

# Linux
apt install mkcert
Trust the mkcert CA system-wide.
mkcert -installGenerate a certificate for localhost (and local IP addresses).
mkcert localhost 127.0.0.1 ::1 your.local.ip.addressCopy the certificate to the current dir.
mv localhost+3.pem cert.crt
mv localhost+3-key.pem cert.key
Create custom server file at ./server.js:
const { createServer } = require("https");
const { parse } = require("url");
const next = require("next");
const fs = require("fs");

const dev = process.env.NODE_ENV !== "production";
const app = next({ dev });
const handle = app.getRequestHandler();

const httpsOptions = {
  key: fs.readFileSync("./cert.key"),
  cert: fs.readFileSync("./cert.crt"),
};

app.prepare().then(() => {
  createServer(httpsOptions, (req, res) => {
    const parsedUrl = parse(req.url, true);
    handle(req, res, parsedUrl);
  }).listen(3000, (err) => {
    if (err) throw err;
    console.log("> Ready on https://localhost:3000");
    console.log("> Also available on https://your.local.ip.address:3000");
  });
});
Run the server:
npm run dev
# or
yarn dev
# or
bun devAfter setting up your local server, you may follow these steps to see your changes on your car thing.
- If you're using Method #2 for your local server, you can skip this step.
Edit yourCaddyfileto include your local server's IP address:https://localhost:3443 { reverse_proxy localhost:3000 } https://your.local.ip.address:3443 { reverse_proxy localhost:3000 }
- SSH into your Raspberry pi.
- SSH into the Car Thing.
ssh [email protected] # The login password is "superbird". - Edit
/scripts/chromium_settings.sh.nano /scripts/chromium_settings.sh - Replace the URL to point to your local server's IP address.
- If you're using Method #1, replace
portwith3443. - If you're using Method #2, replace
portwith3000.# settings for /scripts/start_chromium.sh # URL="https://nocturne.brandons.place/" URL="https://your.local.ip.address:port/"
- Reboot your Car Thing to apply your changes.
sudo reboot
- Fork the repository
- Your changes should be based off the
mainbranch.
- Your changes should be based off the
- Create a feature branch:
git checkout -b feature/new-feature - Commit your changes:
git commit -m 'Add new feature' - Push to the branch:
git push origin feature/new-feature - Open a Pull Request
Nocturne is a massive endeavor, and the team have spent everyday over the last few months making it a reality out of our passion for creating something that people like you love to use.
All donations are split between the four members of the Nocturne team, and go towards the development of future features. We are so grateful for your support!
This software was made possible only through the following individuals and open source programs:
- Benjamin McGill, for giving me a Car Thing to develop with
- shadow, for OS development, testing, troubleshooting, and crazy good repo maintainence
- Dominic Frye, for OS development, debugging, testing, and marketing
- bbaovanc, for OS development, debugging, and testing
- bishopdynamics, for creating the original superbird-tool, and superbird-debian-kiosk
- Car Thing Hax Community's fork of superbird-tool, for their contributions on the original superbird-tool
nocturne-image - The Debian image that runs this web application nocturne-api - Cloudflare Worker for various tasks required server-side nocturned - Local API for the Car Thing to handle bluetooth + others
This project is licensed under the GPL-3.0 license.
We kindly ask that any modifications or distributions made outside of direct forks from this repository include attribution to the original project in the README, as we have worked hard on this. :)
brandons.place · GitHub @brandonsaldan · Twitter @brandonsaldan