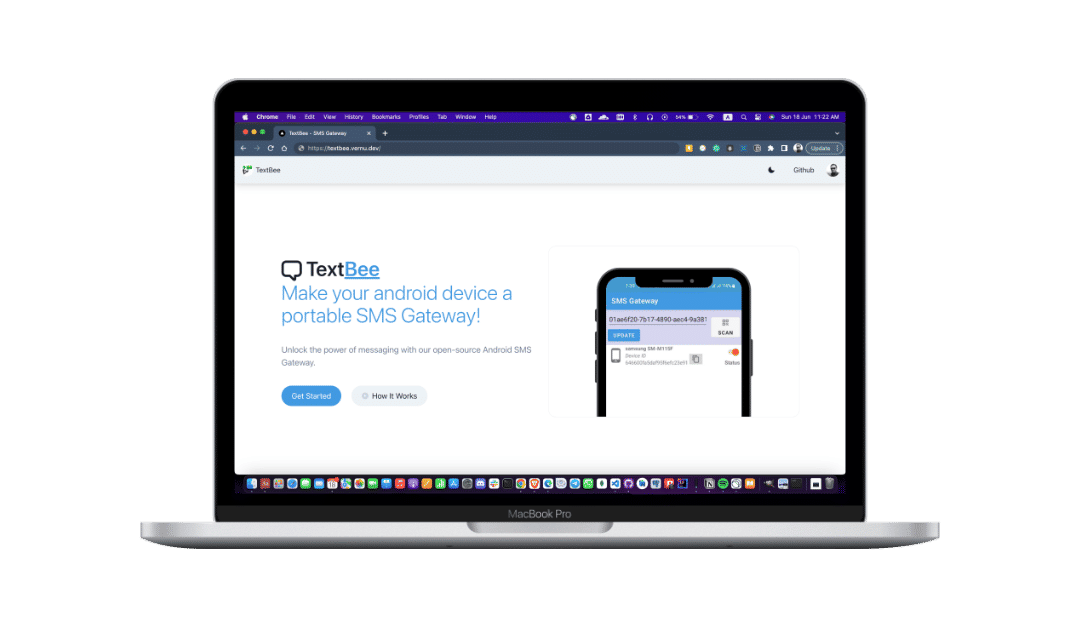
TextBee is an open-source SMS gateway that enables users to send and receive SMS messages via a web dashboard or a REST API. Perfect for businesses, developers, and hobbyists who need a reliable and cost-effective way to automate SMS messaging.
- Technology stack: React, Next.js, Node.js, NestJs, MongoDB, Android, Java
- Link: https://textbee.dev
- Send & receive SMS messages via API & dashboard
- Use your own Android phone as an SMS gateway
- REST API for easy integration with apps & services
- Send Bulk SMS with CSV file
- Multi-device support for higher SMS throughput
- Secure API authentication with API keys
- Webhook support
- Self-hosting support for full control over your data
- Go to textbee.dev and register or login with your account
- Install the app on your android phone from dl.textbee.dev
- Open the app and grant the permissions for SMS
- Go to textbee.dev/dashboard and click register device/ generate API Key
- Scan the QR code with the app or enter the API key manually
- You are ready to send SMS messages from the dashboard or from your application via the REST API
Code Snippet: Few lines of code showing how to send an SMS message via the REST API
const API_KEY = 'YOUR_API_KEY';
const DEVICE_ID = 'YOUR_DEVICE_ID';

await axios.post(`https://api.textbee.dev/api/v1/gateway/devices/${DEVICE_ID}/send-sms`, {
  recipients: [ '+251912345678' ],
  message: 'Hello World!',
}, {
  headers: {
    'x-api-key': API_KEY,
  },
});
Code Snippet: Curl command to send an SMS message via the REST API
curl -X POST "https://api.textbee.dev/api/v1/gateway/devices/YOUR_DEVICE_ID/send-sms" \
  -H 'x-api-key: YOUR_API_KEY' \
  -H 'Content-Type: application/json' \
  -d '{
    "recipients": [ "+251912345678" ],
    "message": "Hello World!"
}'To receive SMS messages, you can enable the feature from the mobile app. You can then fetch the received SMS messages via the REST API or view them in the dashboard. (Webhook notifications are coming soon)
Code Snippet: Few lines of code showing how to fetch received SMS messages via the REST API
const API_KEY = 'YOUR_API_KEY';
const DEVICE_ID = 'YOUR_DEVICE_ID';

await axios.get(`https://api.textbee.dev/api/v1/gateway/devices/${DEVICE_ID}/get-received-sms`, {
  headers: {
    'x-api-key': API_KEY,
  },
});
Code Snippet: Curl command to fetch received SMS messages
curl -X GET "https://api.textbee.dev/api/v1/gateway/devices/YOUR_DEVICE_ID/get-received-sms"\
-H "x-api-key: YOUR_API_KEY"- Install MongoDB on Your Server: Follow the official MongoDB installation guide for your operating system.
- Using MongoDB Atlas: Alternatively, you can create a free database on MongoDB Atlas. Sign up at MongoDB Atlas and follow the instructions to set up your database.
- Create a Firebase project.
- Enable Firebase Cloud Messaging (FCM) in your Firebase project.
- Obtain the Firebase credentials for backend use and the Android app.
- Clone the repository and navigate to the Android project directory.
- Update the
google-services.jsonfile with your Firebase project configuration. - Update every occurrence of
textbee.devwith your own domain in the project. - Build the app using Android Studio or the command line:
./gradlew assembleRelease
- Navigate to the
webdirectory. - Copy the
.env.examplefile to.env:cp .env.example .env
- Update the
.envfile with your own credentials. - Install dependencies:
pnpm install
- Build the web application:
pnpm build
- Navigate to the
apidirectory. - Copy the
.env.examplefile to.env:cp .env.example .env
- Update the
.envfile with your own credentials. - Install dependencies:
pnpm install
- Build the API:
pnpm build
- Install
pnpm,pm2, andCaddyon your VPS. - Use
pm2to manage your Node.js processes:pm2 start dist/main.js --name textbee-api
- Configure
Caddyto serve your web application and API. Example Caddyfile:textbee.dev { reverse_proxy /api/* localhost:3000 reverse_proxy /* localhost:3001 } - Ensure your domain points to your VPS and Caddy is configured properly.
Contributions are welcome!
- Fork the project.
- Create a feature or bugfix branch from
mainbranch. - Make sure your commit messages and PR comment summaries are descriptive.
- Create a pull request to the
mainbranch.
Please feel free to create an issue in the repository for any bug reports or feature requests. Make sure to provide a detailed description of the issue or feature you are requesting and properly label whether it is a bug or a feature request.
Please note that if you discover any vulnerability or security issue, we kindly request that you refrain from creating a public issue. Instead, send an email detailing the vulnerability to [email protected].
Feel free to reach out to us at [email protected] or Join our Discord server