Available already assembled and ready for hacking at:
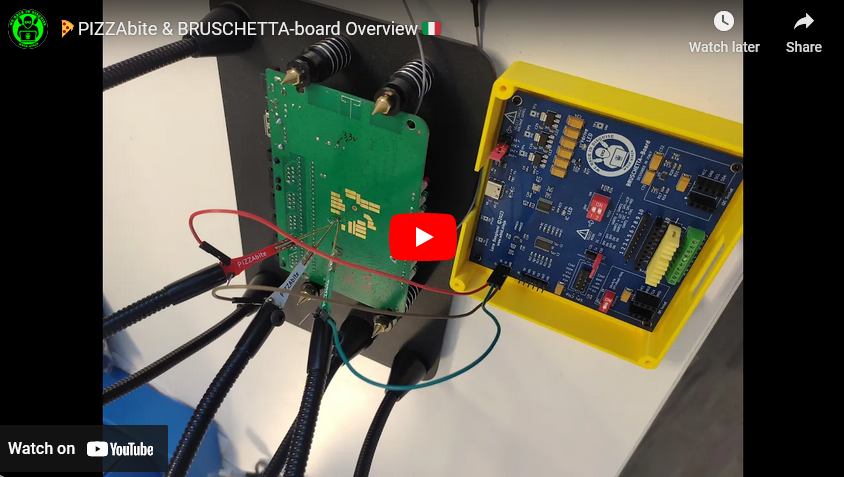
Bruschetta-Board has been designed by Luca Bongiorni and made available by the awesome guys from https://www.aprbrother.com/ for any hardware hacker out there that is looking for a fairly-priced all-in-one debugger & programmer that supports: UART, JTAG, I2C & SPI protocols and allows to interact with different targets' voltages (i.e., 1.8, 2.5, 3.3 and 5 Volts!).
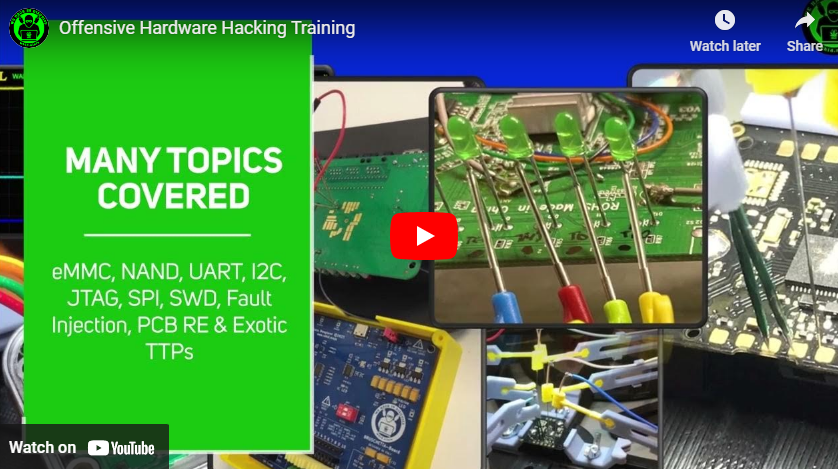
The 𝙊𝙛𝙛𝙚𝙣𝙨𝙞𝙫𝙚 𝙃𝙖𝙧𝙙𝙬𝙖𝙧𝙚 𝙃𝙖𝙘𝙠𝙞𝙣𝙜 𝙏𝙧𝙖𝙞𝙣𝙞𝙣𝙜 is a Self-Paced training including Videos, a printed Workbook and a cool Hardware Hackit Kit. And... you get everything shipped home Worldwide! 🌍🔥😎
For more info... ➡ https://www.whid.ninja/store
BRUSCHETTA-board has 4 Operating Modes, however the ones that you will need most are Mode 2 (UART1+I2C+SPI-VCP) and Mode 4 (UART1+JTAG).
To switch between them you have to set use the DPI-switch S1 & S2:
- Mode 2 (UART1+I2C+SPI-VCP): S1=ON and S2=OFF
Before starting using your BRUSCHETTA-Board as SPI or I2C Programmer... you will have to change the mode:
      • Switch it to Mode-2 by setting the DIP switch S1 to ON and the S2 to OFF (see image below);

      • Set the target voltage level (which in the case below was 3.3V);

      • Set the Jumper of the Chip Select to CS0.

- Mode 4 (UART1+JTAG): S1=ON and S2=ON
To use it as UART and JTAG debugger (both working at the same time) you will have to set both S1 & S2 to ON.

A nice feature of BRUSCHETTA-board that makes it perfect for Hardware Hackers is the fact it mounts Level Shifters.
No matter if you have to use it for UART, JTAG, SPI or I2C... if you target is working at 1.8V, 2.5V, 3.3V or 5V... BRUSCHETTA-board is here to help you! You just need to move the Level Shifter Jumper to the target's voltage BEFORE connecting it to the device and the PC.
Drivers Installation
Before plugging the BRUSCHETTA-board on a Windows OS do install the driver CH341PAR.EXE
UART
Putty https://www.chiark.greenend.org.uk/~sgtatham/putty/latest.html
JTAG - OpenOCD
A precompiled version of OpenOCD compatible with BRUSCHETTA-board is already availabvle in this repo
SPI/I2C - MultiProgrammer v.1.40
(from http://www.yaojiedianzi.com/index.php?m=Product&a=show&id=19)

To change language see below:

SPI - Flashrom
Flashrom 1.4.0dev build for windows x64
https://github.com/whid-injector/flashrom_build_windows_x64
Prerequisites
The following steps were succesfully tested on Ubuntu 22.04:
sudo apt-get update
sudo apt-get install --yes software-properties-common apt-transport-https ca-certificates
sudo update-ca-certificates
sudo apt-get install libtool pkg-config texinfo libusb-dev libusb-1.0.0-dev libftdi-dev autoconf automake make git libftdi* libhidapi-hidraw0 libudev-dev python3-sphinx
UART
sudo screen /dev/ttyACM0 115200
SPI - Flashrom
git clone https://github.com/flashrom/flashrom
cd flashrom
make
(optional) sudo make install
sudo ./flashrom -p ch347_spi -r firmware.bin

SPI - SPI-NAND PROG
https://github.com/981213/spi-nand-prog
JTAG & SWD - OpenOCD
This (https://github.com/WCHSoftGroup/ch347) is the official repo from the IC manufacturer, however I do recommend to use the openocd repo within mine Github repository since it was succesfully compiled and tested with BRUSCHETTA-board
In the remote case the version on this repo is not working or throws errors while compiling... try this backup version I tested succesfully on any Debian-based OS.
SHA256: 9c1d7fd0c6d421055c53c09fb08393fc53e692a4e8439d7a9fb3033153a114ea - https://drive.google.com/file/d/1FZnYCx8WNRhuipZTbB328IyGrrb9FRwi/view?usp=sharing
cd ~/Desktop
git clone https://github.com/whid-injector/BRUSCHETTA-Board
cd BRUSCHETTA-Board
mkdir openocd-ch347
cd Linux/openocd-bruschetta
./bootstrap
./configure --prefix=/home/<YOUR-USER>/Desktop/BRUSCHETTA-Board/openocd-ch347 --disable-doxygen-html --disable-doxygen-pdf --disable-gccwarnings --disable-wextra --enable-ch347
make -j 4
sudo make install
Now copy bruschetta-openocd.cfg in /home/<YOUR-USER>/Desktop/BRUSCHETTA-Board/openocd-ch347/bin
sudo ./openocd -f bruschetta-openocd.cfg -f TARGET.cfg

I2C - Ch347eeprom
git clone https://github.com/whid-injector/ch347eeprom
cd ch347eeprom
make
sudo ./ch347eeprom -v -s 24c08 -r firmware.bin

In case you plan to use BRUSCHETTA-Board on a VM I do recommend to enable the USB3.0 controller.

In this repo you can find the STL CAD file to print your own case for BRUSCHETTA-board.
Ifyou do not own a 3D printer... there are plenty of cheap services out there.
If you live in EU, I do love the guys from Craftrum, they already printed ton of cases for me 🥇
The screws used are a 2x6mm Flat-Head Screws (e.g. https://s.click.aliexpress.com/e/_DEYh5yR)
https://s.click.aliexpress.com/e/_DFY8wcn

https://s.click.aliexpress.com/e/_DmAewbN

https://s.click.aliexpress.com/e/_DEcb3Zl

https://www.aliexpress.com/item/1005005709533214.html

I won't spend time explaining in depth how to report issues, since I am pretty sure you have done it tons of times. The main idea can be summed up in the following points:
- Expected Behavior
- Unexpected Behavior
- which OS you using?
- (Windows) Did you install the drivers before connecting?
- (Windows) Did you try all the tools? Multiprogrammer, BruschettaTool.exe and Flashrom?
- (Windows) Is the SPI/I2C flash connected properly? Is on-PCB? Or detached from the DUT?
- Is the target computer an Apple Product?
- Is the target USB port an USB3.0?
- Eventual Explanation Notes, Screenshots, Videos, etc.