-
Notifications
You must be signed in to change notification settings - Fork 5
Booting Up Valkyrie

This page will go through the full process of turning on the robot and getting everything running so you may run your own ROS controller to move the robot. You should first make sure you are familiar with the terms listed on the [glossary of terms](Glossary Of Terms) page, as this page will use a number of the terms listed there.
##Assumptions##
-
You are running from a source installation. For running from debians, the steps are pretty much exactly the same just without the steps to make sure your catkin workspaces are built/installed
-
You know your robot's IP address. This documentation will refer to your robots IP addresses as 'Link-IP' for the IP address of the Link computer and 'Zelda-IP' for the IP address of the Zelda computer.
##Power On Valkyrie##
The first step in powering on the robot is to turn on the power sources. These are located in your juice box. To turn them on, flip the switches on both the low voltage and high voltage sources to on. Once the LED display reads "OFF"(should take a couple seconds) you can press the "OUT" button which will fully start the power source. The image below shows the buttons you will need to press.

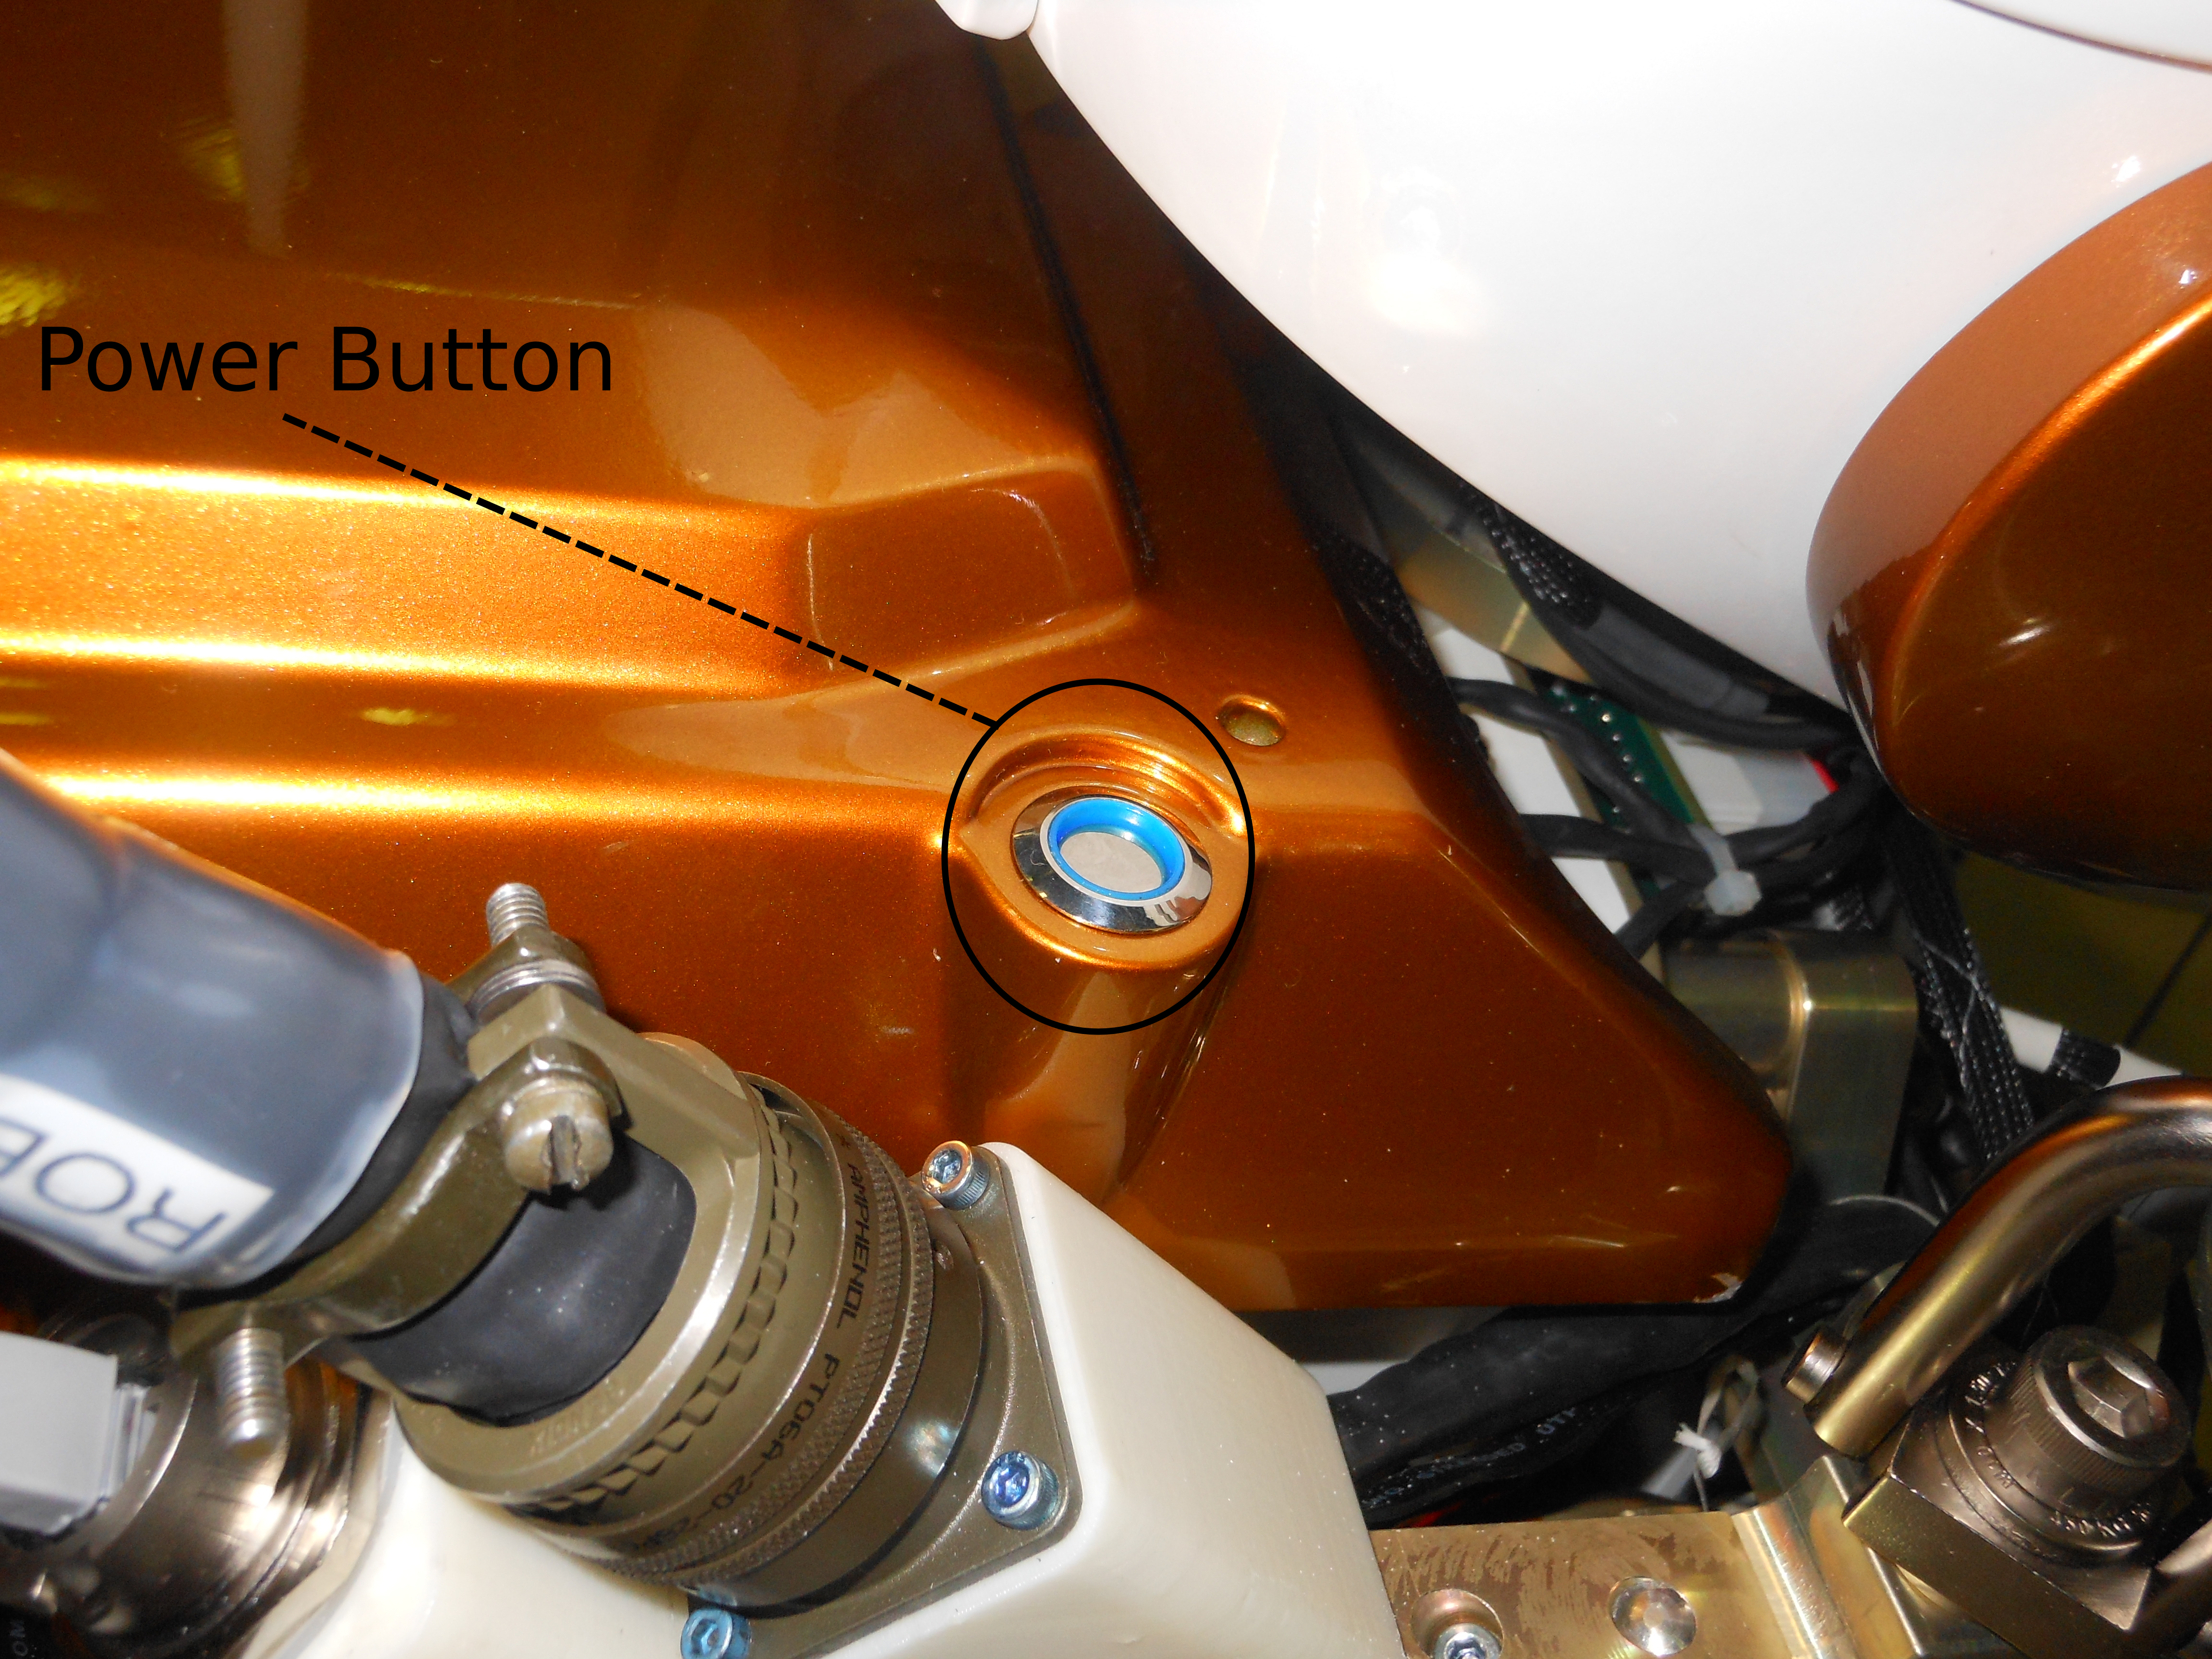
Now that the power sources are running, you can now turn the robot on. Do this by pressing the button that is located behind the right shoulder of the robot as shown in the figure below.

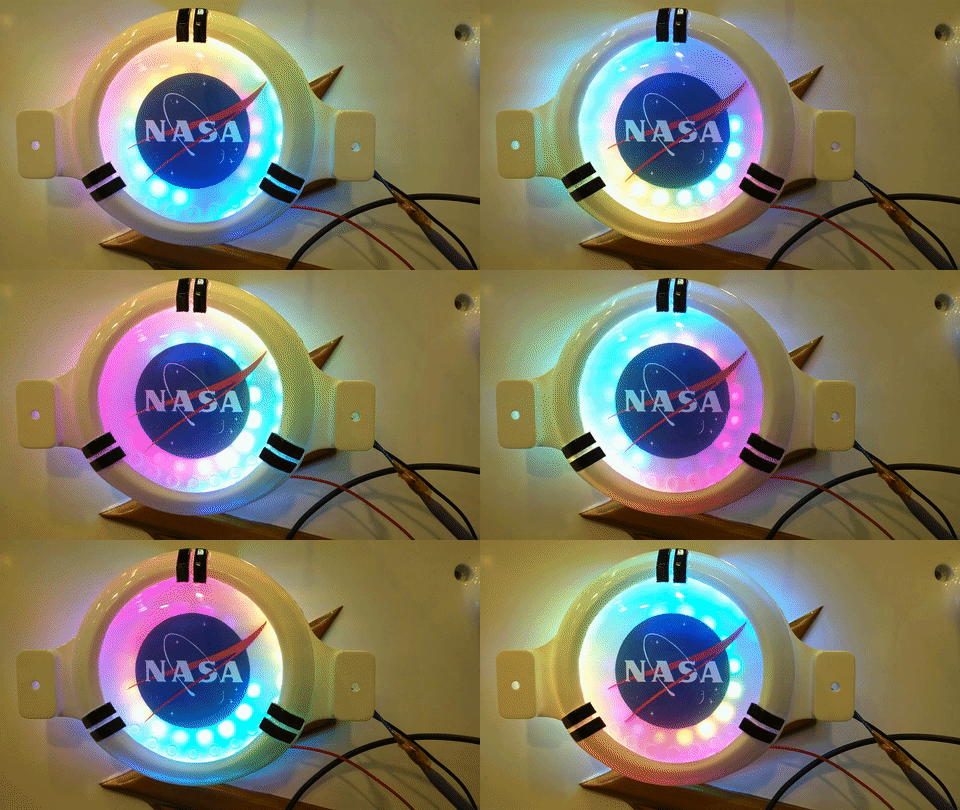
The button will have a blue glow, and the light in Valkyrie's chest should "beach ball",

After "beach balling" for ~10 seconds, it should turn red,

Once the light is spinning red, you are ready to get going on the computers. On your operator computers, if you aren't sure if your catkin workspace is built, go ahead and do that,
cd ~/val_indigo
catkin_make install
Now do the same for the workspaces on Link. You will need to ssh into the Link computer to do this, so in a terminal,
ssh -YC val@'Link-IP'
cd ~/val_indigo
catkin_make install
Now from the operator computer, open ui_builder,
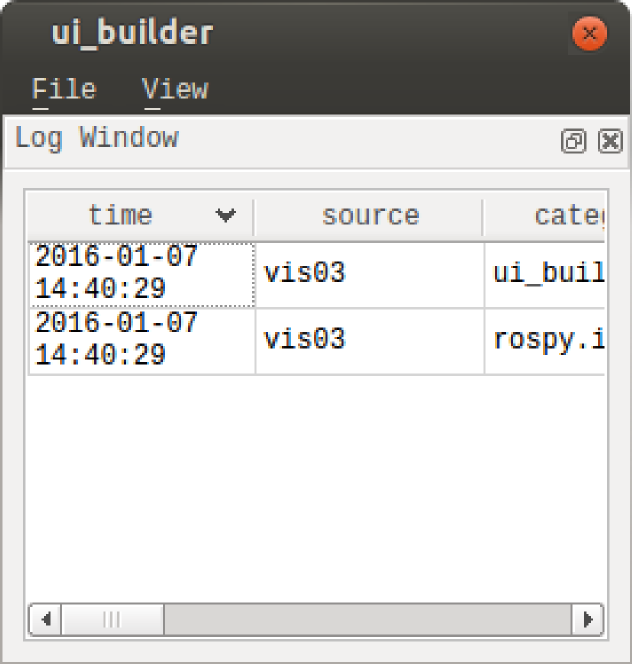
ui_builder &this will bring up a blank ui_builder window,

from here you can add the 'mission_control' tab corresponding to your robot. On the ui_builder window, click file->add tab(s)(config file). It will open a file browser where you can navigate to and open the mission_control_val_X.uic that corresponds to your robot. If you are running unit C, then you will open the file 'mission_control_val_C.uic'. In your ui_builder window you should then see,
NASA Johnson Space Center - Valkyrie Team
Contact Us
Top of the Page
