-
Notifications
You must be signed in to change notification settings - Fork 5
Multisense SL
This page needs to contain the instructions for accessing and modifying the IPs of the Multisense.
##Table of Robot Multisense I.P. Addresses
Listed here is a table of the ip address that is to be used by the Multisense on each Valkyrie Robot. If you wish to use a Multisense on a current robot, it must have the configuration that corresponds to the robot on the list for which it will be mounted.
| Robot | IP Address | Gateway | NetMask |
|---|---|---|---|
| Valkyrie A | 192.168.1.11 | 192.168.1.1 | 255.255.255.0 |
| Valkyrie B | 192.168.1.21 | 192.168.1.1 | 255.255.255.0 |
| Valkyrie C | 192.168.1.31 | 192.168.1.1 | 255.255.255.0 |
| Valkyrie D | 192.168.1.41 | 192.168.1.1 | 255.255.255.0 |
If you are using an old Multisense unit, or your Multisense ip address does not match the table above the you may follow the next set of directions for setting up your Multisense.
##Configuring your Multisense SL
Every multisense comes with the following ip address configuratoin:
IP Address|Gateway|NetMask|mtu :-------:|:--------:|:--------:|:--------:|:-----: 10.66.171.21|10.66.171.1|255.255.240.0|7200
If your Multisense sensor is not at the factory default then it should be reset to the factory default (for these instructions, it is possible to change the ip address directly, but it utilizes slightly different commands, and requires that you know the current ip address exactly).
###Resetting to Factory Default
To reset the Multisense to the factory default you need to have a computer that is on the same network of the Multisense (for old Valkyrie multisenses the network it 10.185.0.* with a safe ip address for the computer being something like 10.185.0.110). We also assume that you have installed the ros multisense driver.
To reset the ip address of the device run the command: ####NOTE: This command must be run as root
rosrun multisense_lib ChangeIpUtility -b <network interface>
Where the is the interface that has the connection to the Multisense (usually eth0).
###Set the Multisense to the new ip address
To set the Multisense to the correct ip address, you will first need to change the network to the same on that is used by the Multisense (it is recommended to use 10.66.171.20 for you ip address). Also note the mtu of 7200 that is used by the Multisense.
Once the ip address of the computer talking to the multisense is set up, run the following command:
rosrun multisense_lib ChangeIpUtility -A <ip address> -G 192.168.1.1 -N 255.255.255.0
where the is the address corresponding to the robot in the table that you will be using.
##Hardware wiring
The following contains information on the Ethernet setup of the Multisense. As part of the Cartman Release we are modifying the connectivity path of the Multisense. This has shown in testing to be more stable and achieve overall better bandwidth.
All setups prior to release Cartman had the ethernet for the Multisense plugged directly into the switch on the back of the Valkyrie robot directly beneath the batter/batter mass simulator. Following the release of Cartman, the Multisense line is plugged directly into zelda (the computer on Valkyrie's left hand side).
To update the hardware to be in line with a post Cartman release, follow the following instructions
- Unplug the cable that runs from the Multisense to the switch from the switch (the cable runs down the robot's right side).
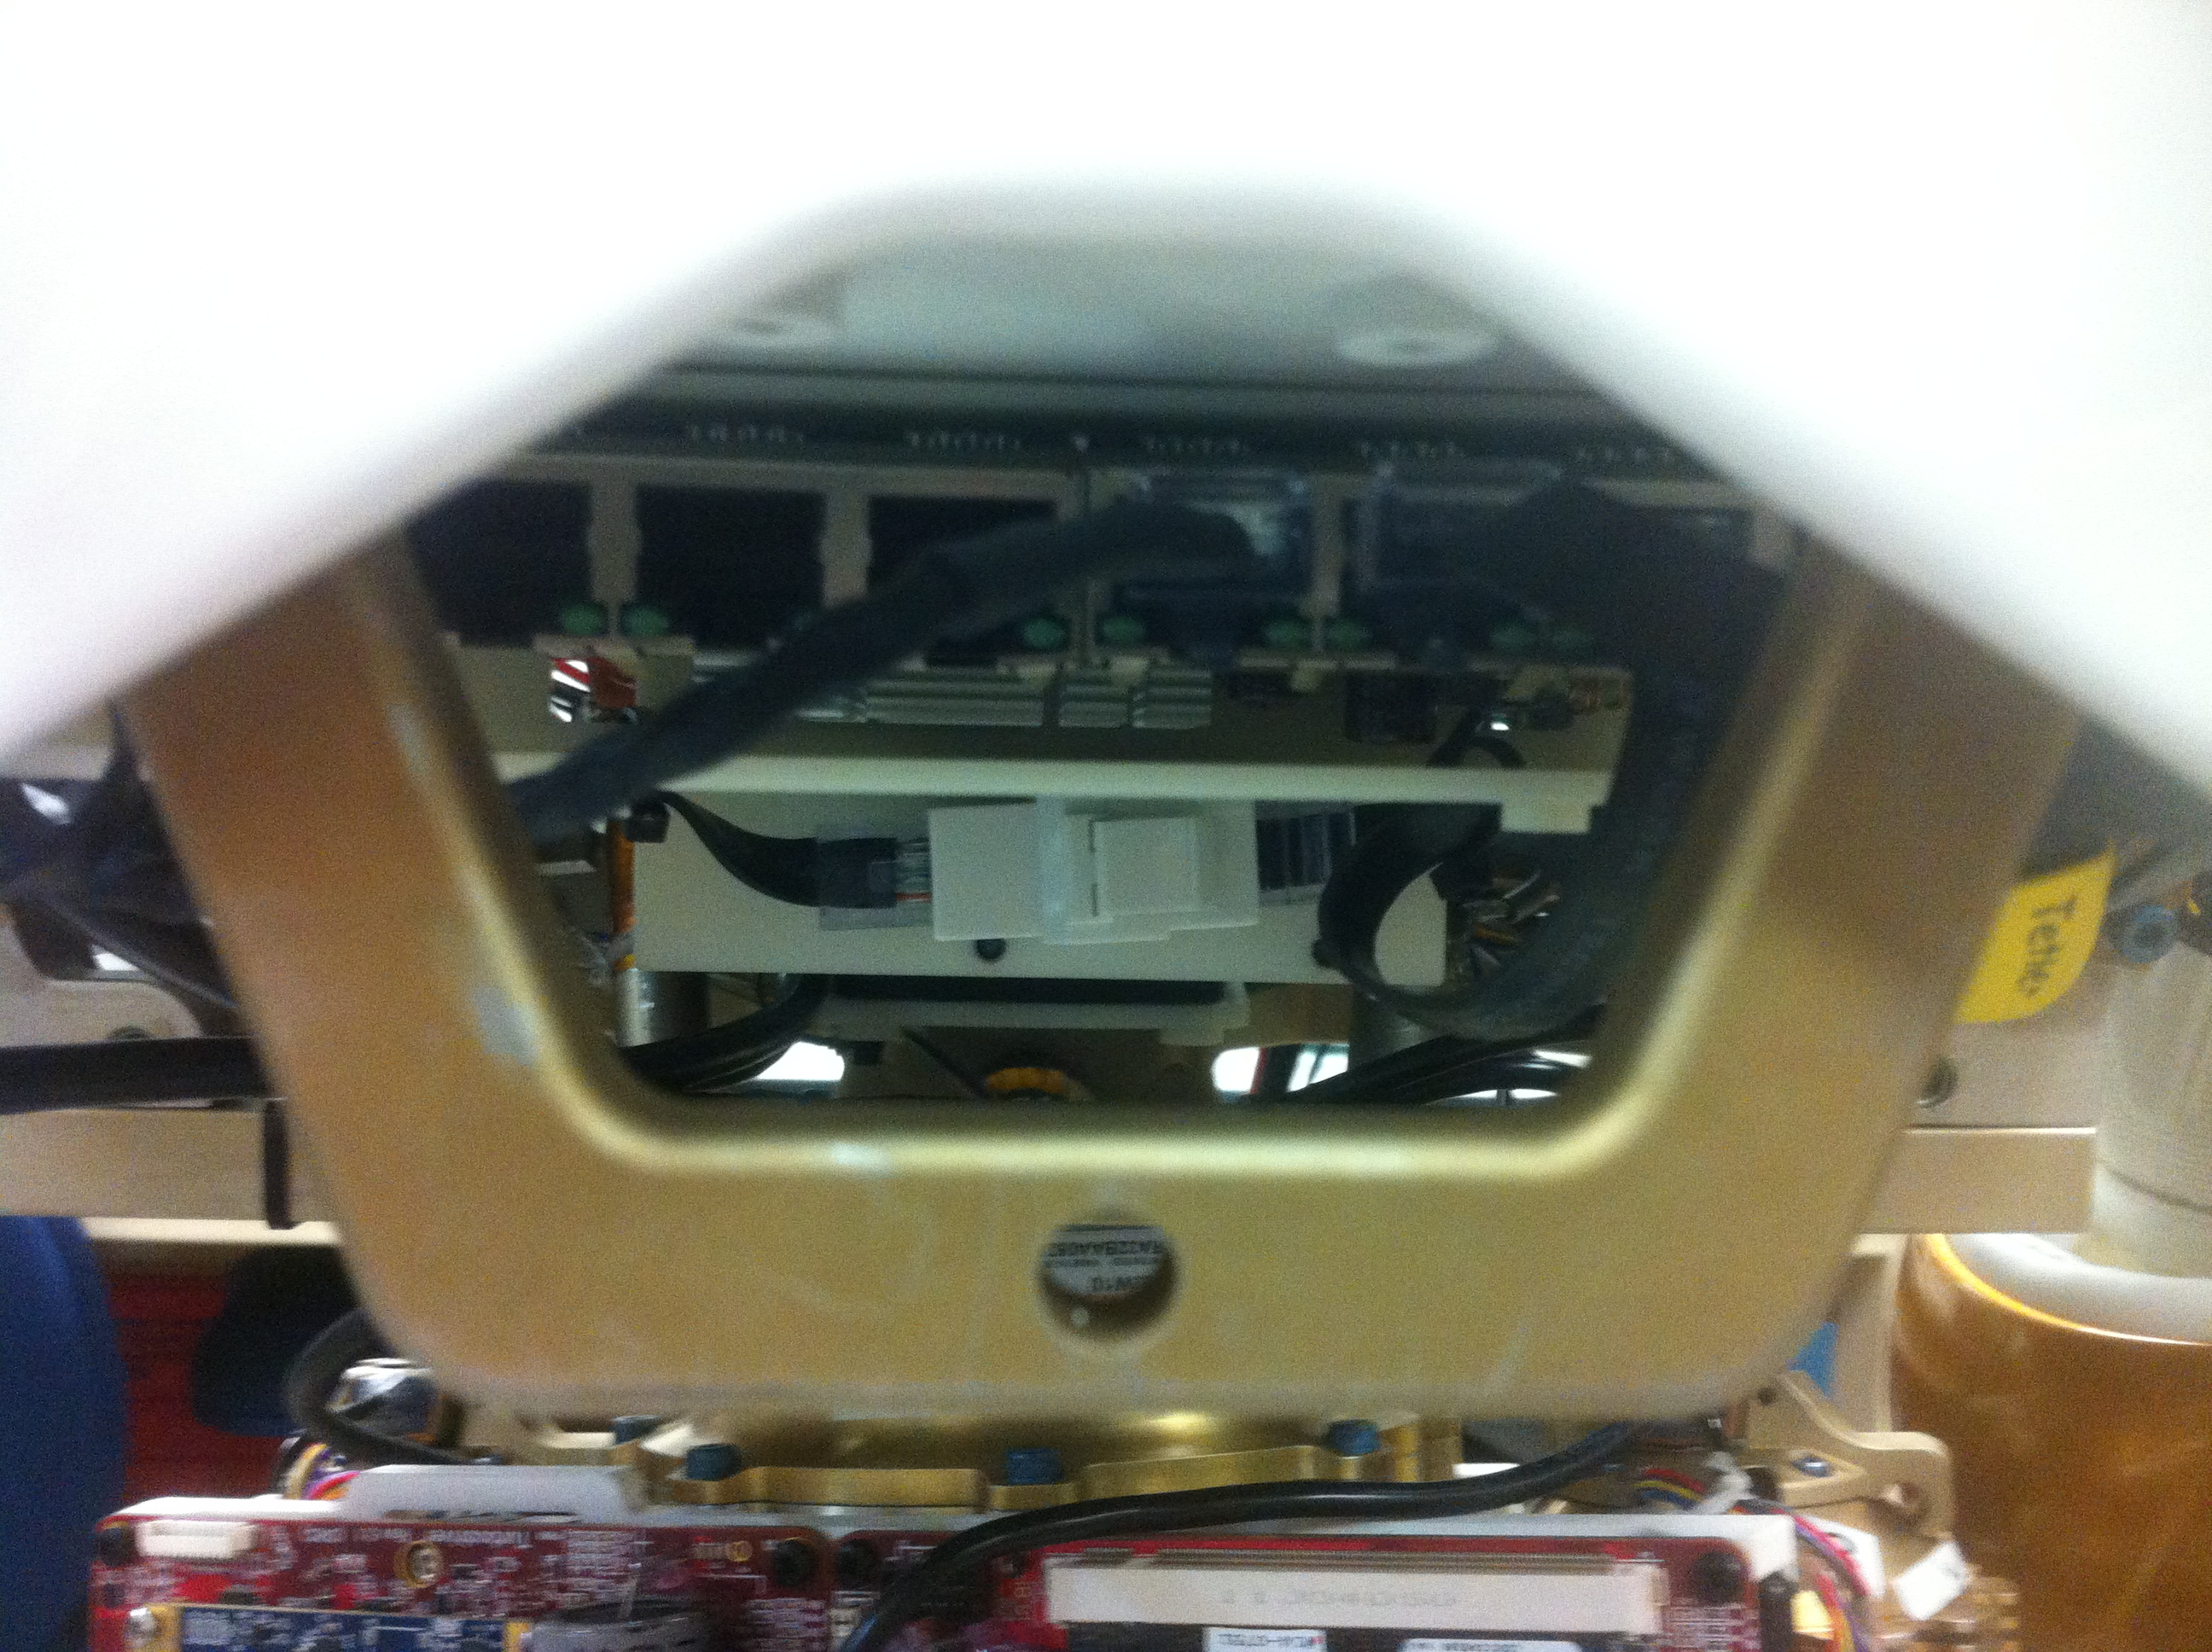
- plug the now open end (the end that used to plug into the switch) into a pass through. We have used a Keystone Jack EIA-T568B for our pass through (see image bellow for location of the passthrough and the switch at the rear of the robot).
 image of the rear switch and the pass through connector
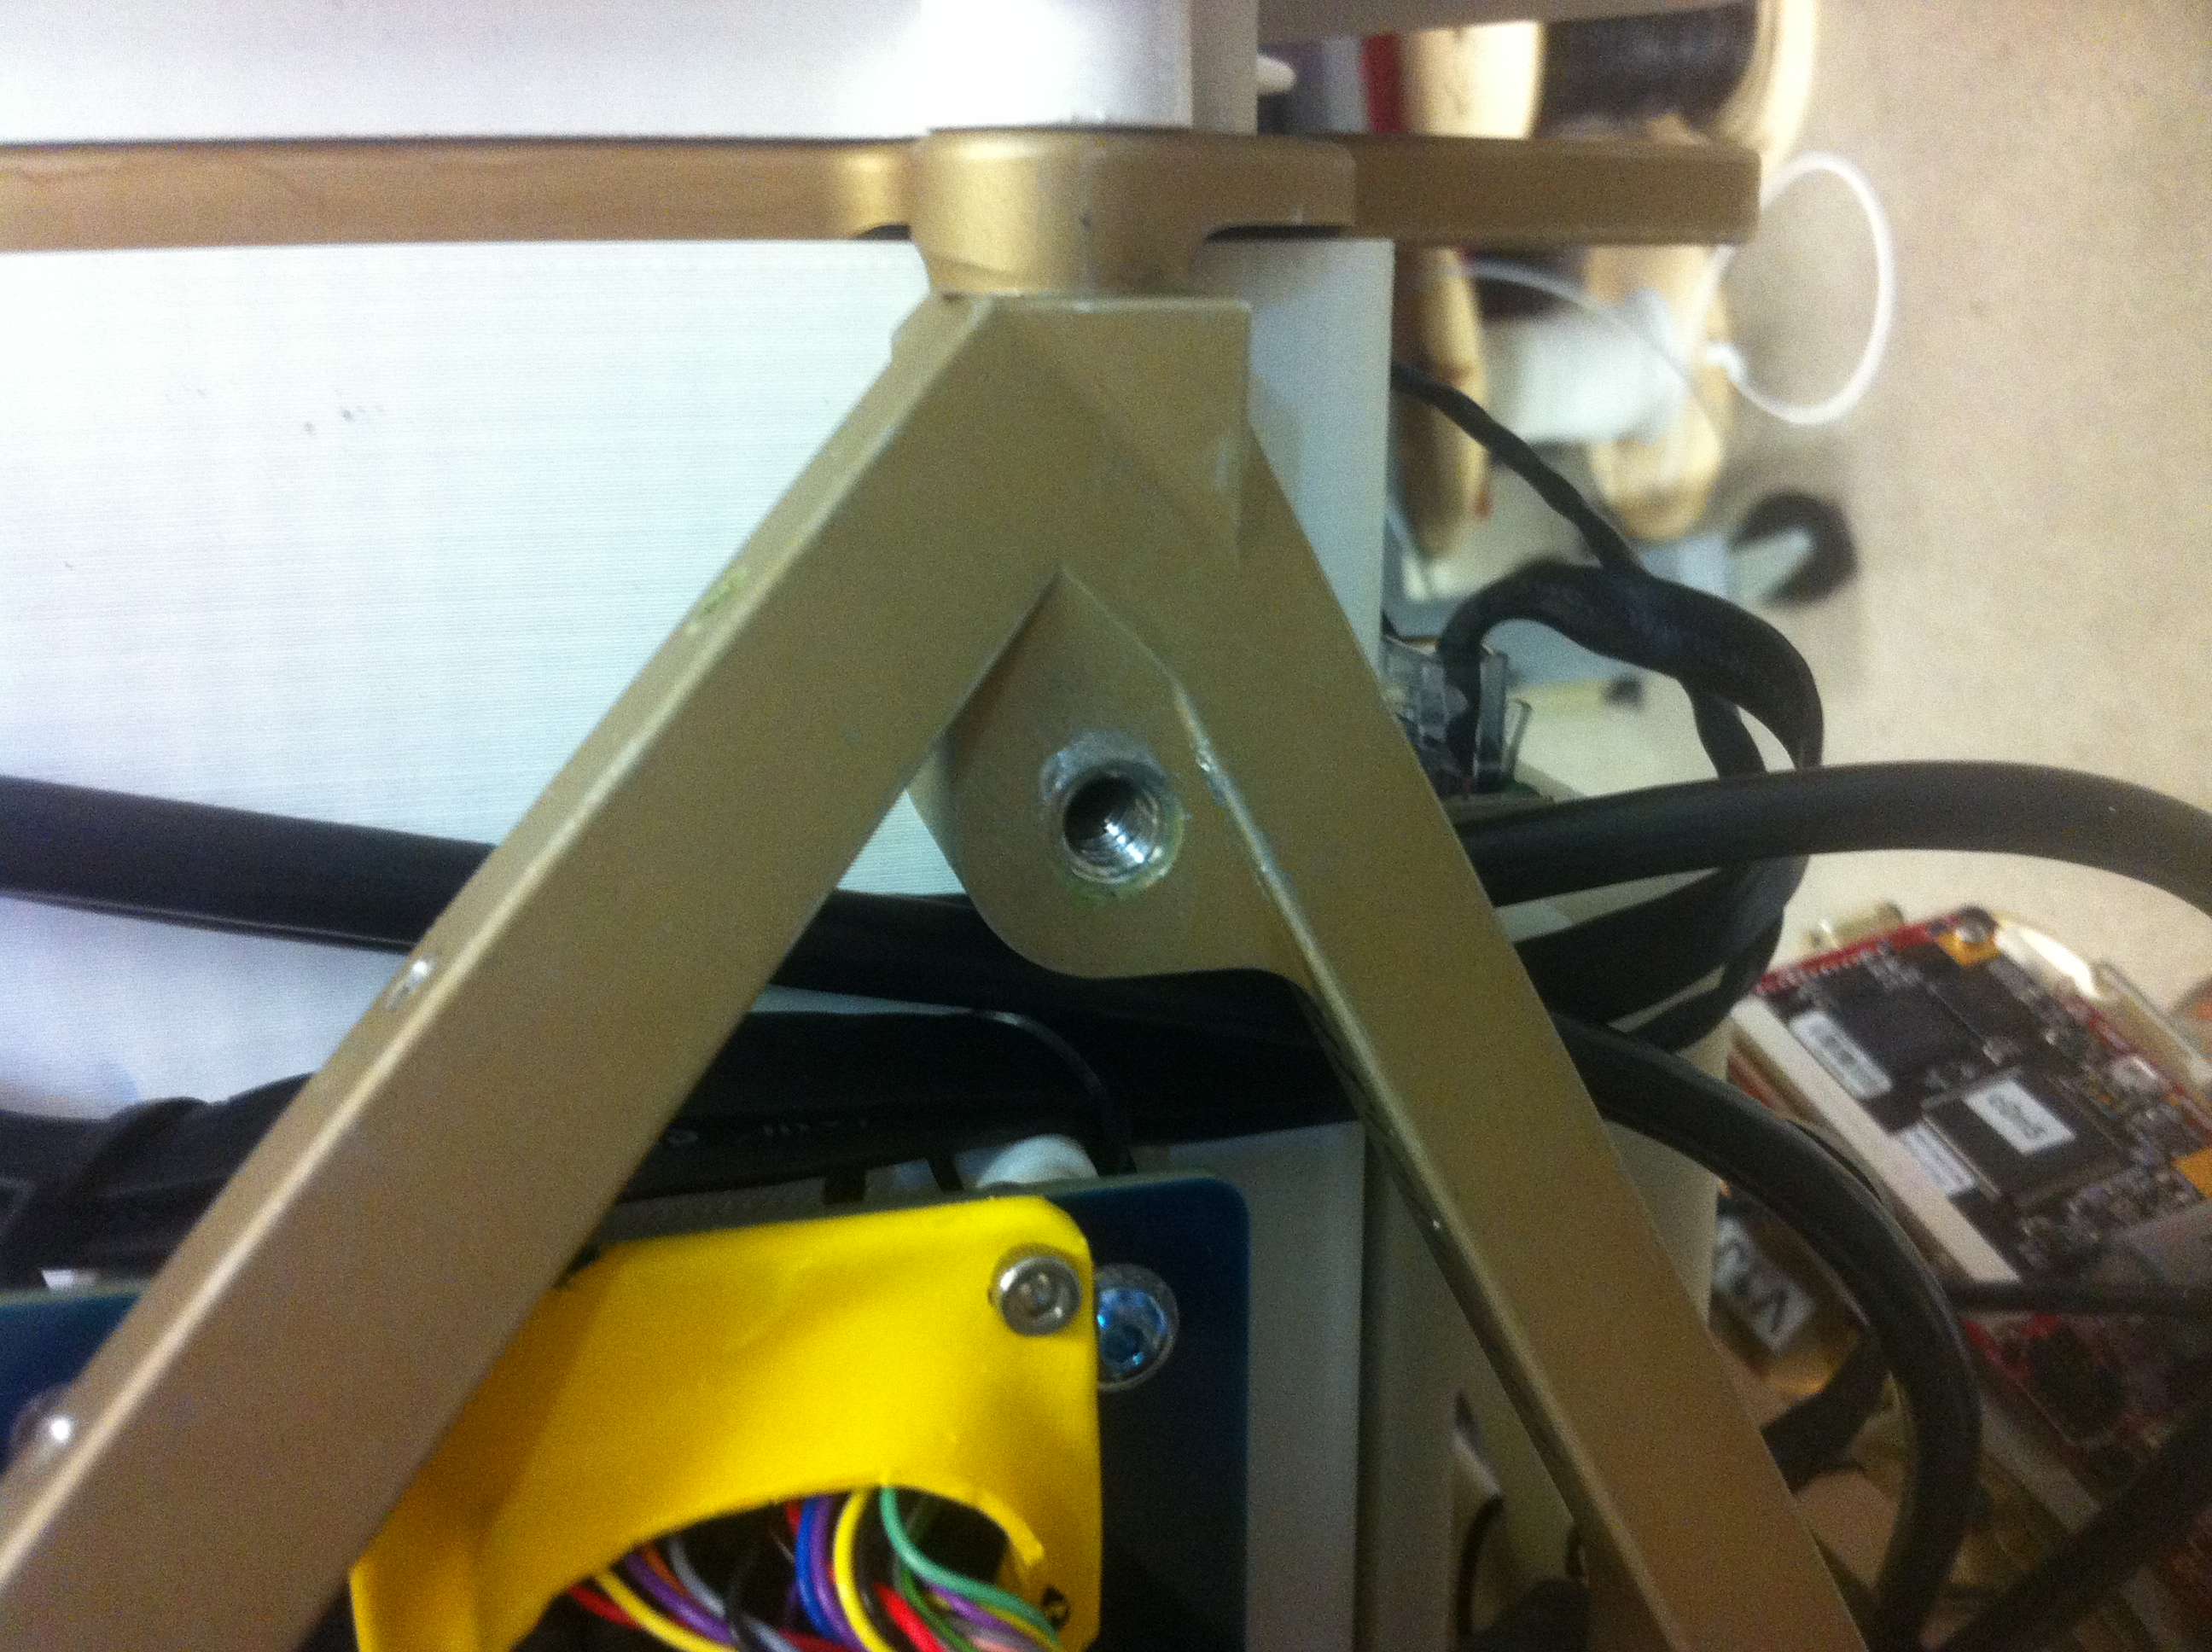
 Close up image of the mounting of the pass through ethernet connector
 Image of the bracket from bellow
 Image of the bracket from the side
As part of the Cartman Release we are modifying the connectivity path of the Multisense. This has shown in testing to be more stable and achieve overall better bandwidth.
NASA Johnson Space Center - Valkyrie Team
Contact Us
Top of the Page
