1. Fossbot godot model
The implementation of the fossbot godot model was challenging because Godot is primarily a game engine and did not include pre-made nodes specifically designed for robotics. Therefore, I had to build these nodes from scratch to create the fossbot model.
However, Godot provided a useful node called the vehicle body node, which helped in implementing functionalities such as spinning wheels and moving the vehicle in different directions. For other fossbot components like the ultrasonic sensor, line sensor, light sensor, and LED, I had to develop custom nodes to integrate them seamlessly into the fossbot model.
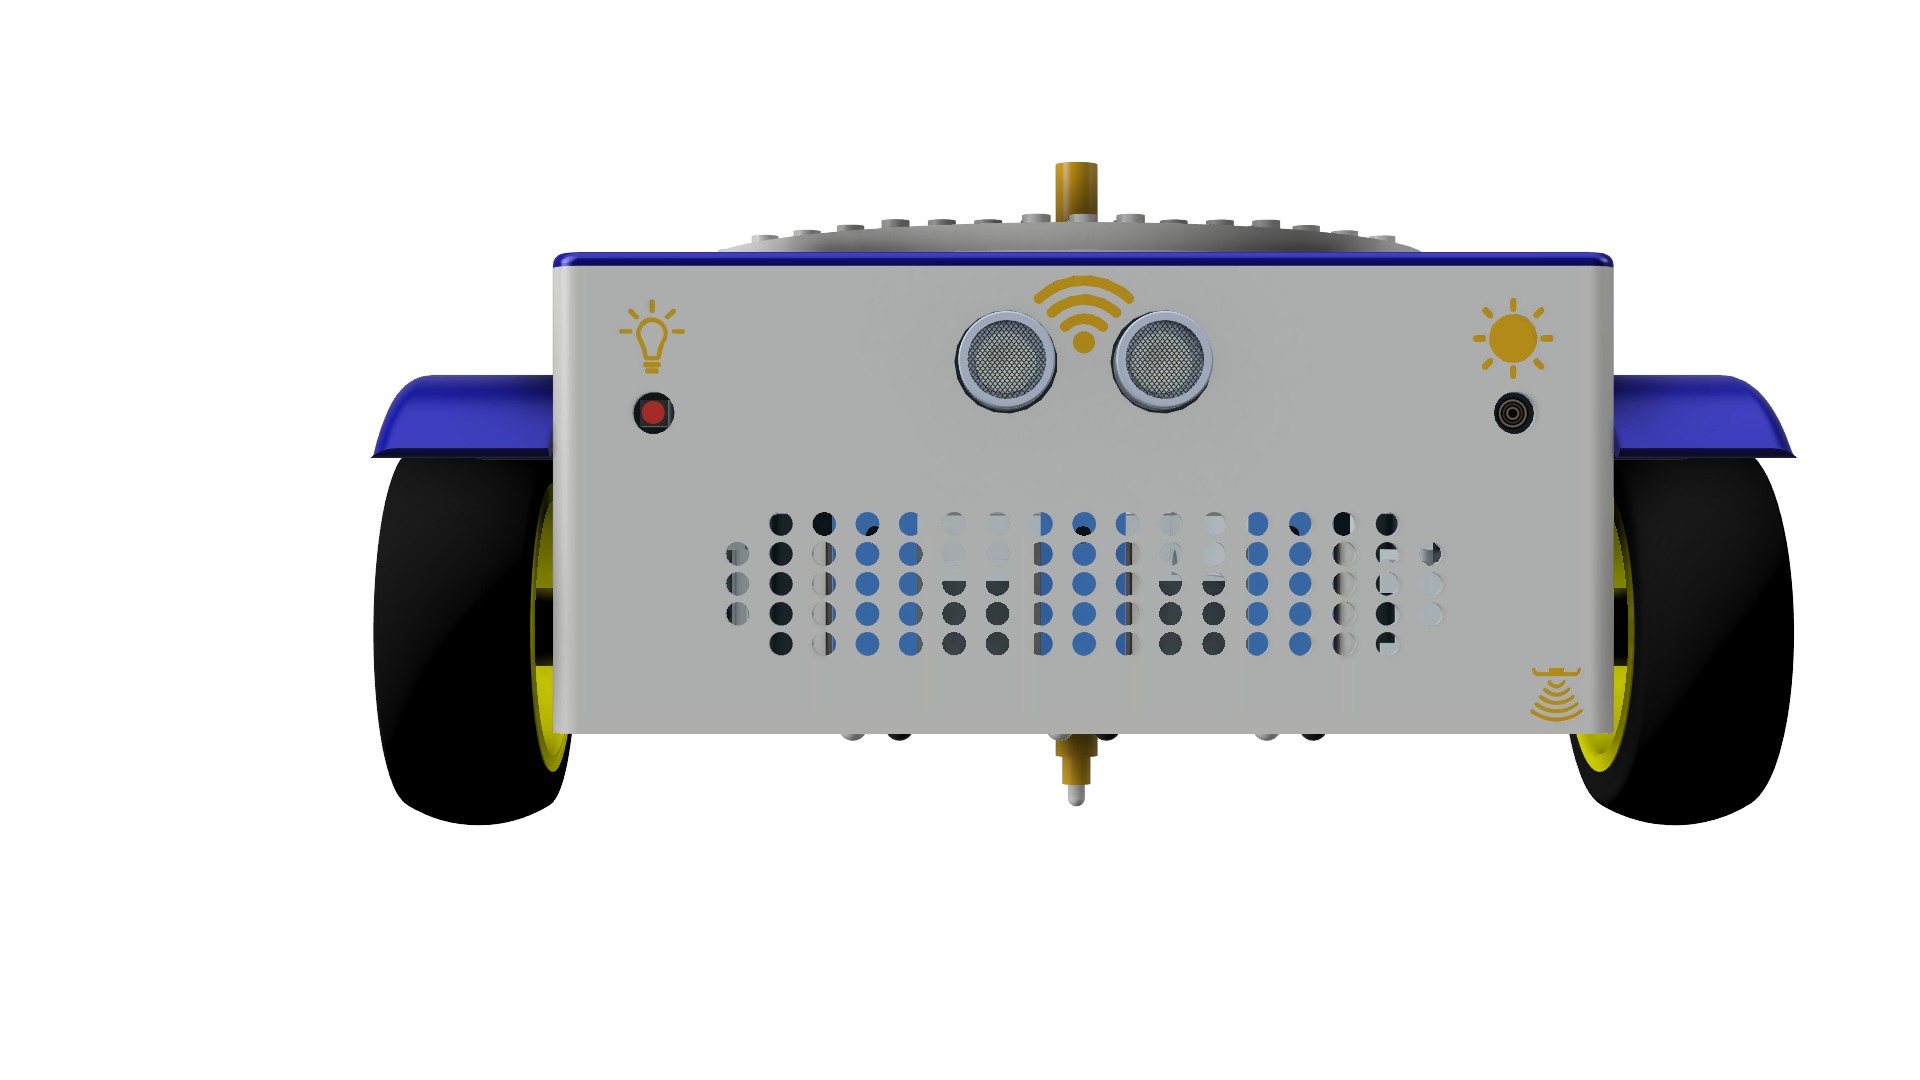
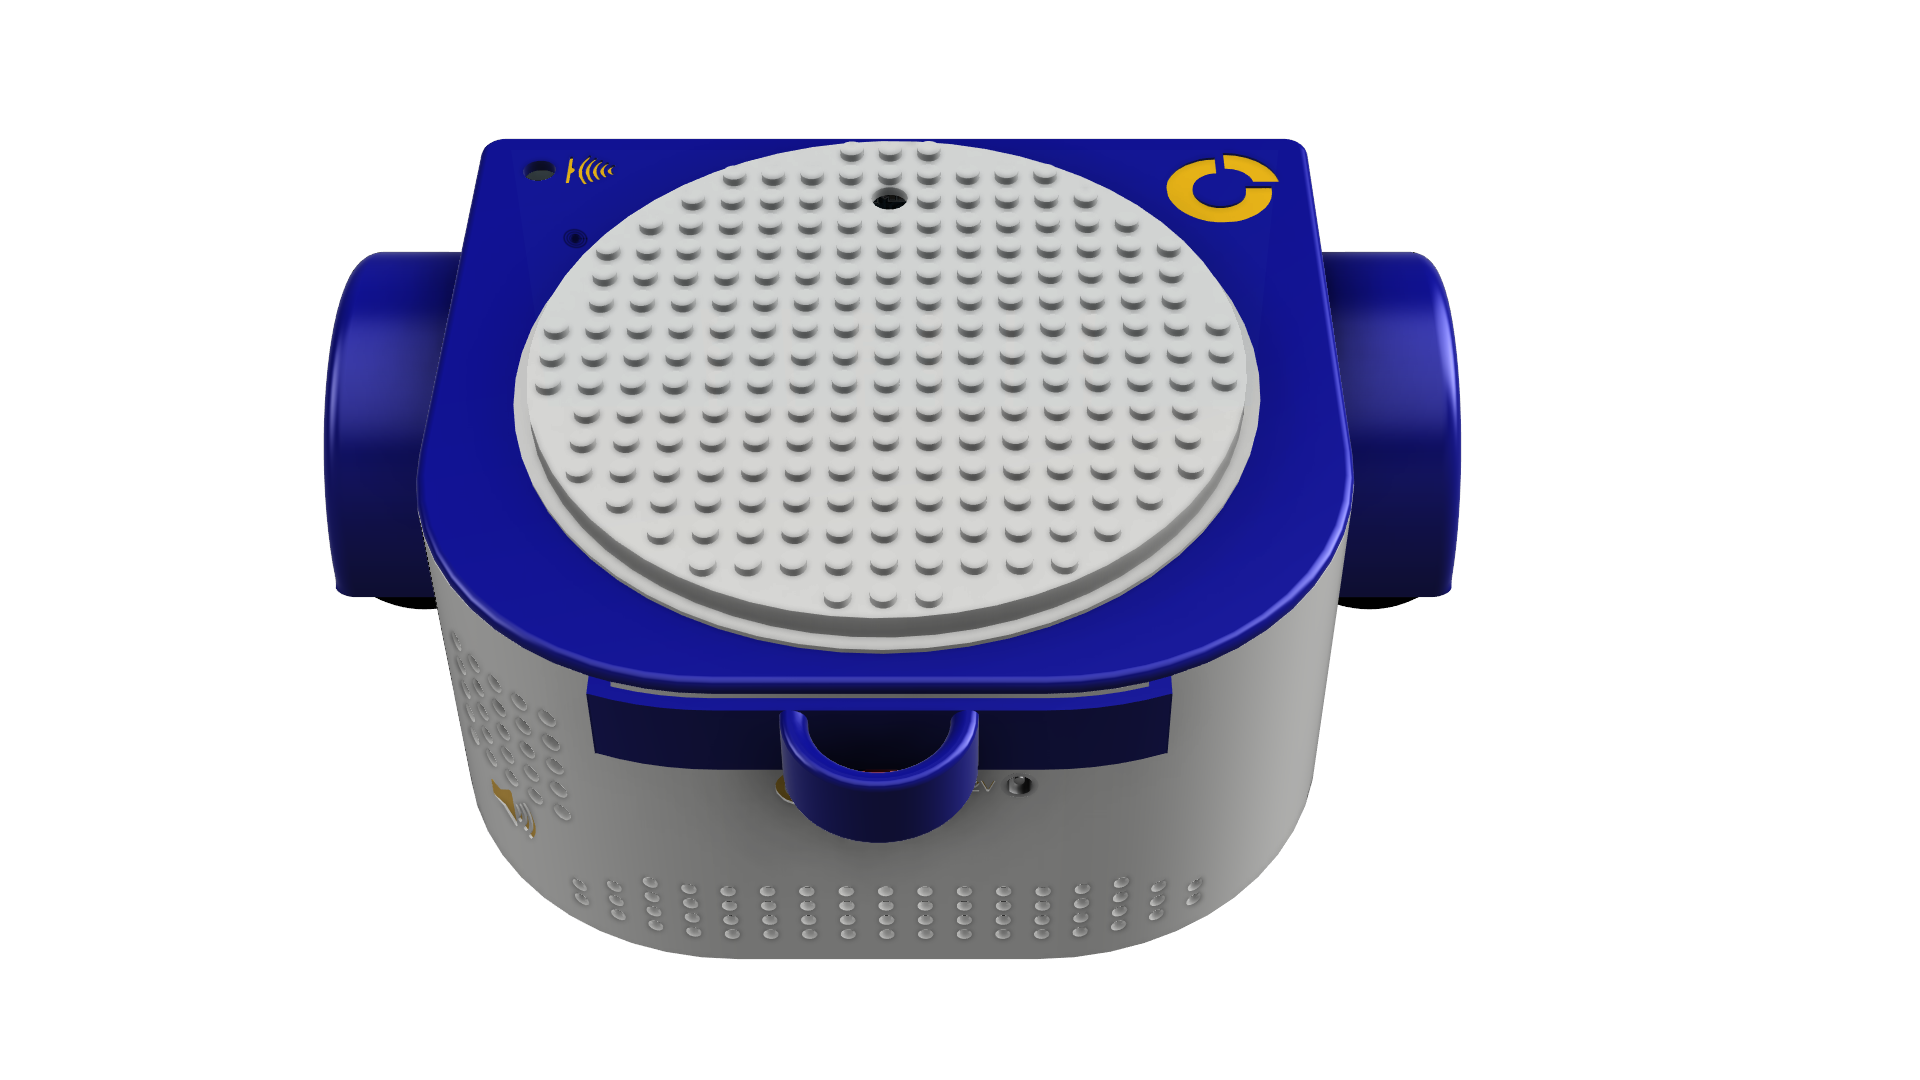
The fossbot's appearance, imported through Blender, required meticulous color and size adjustments to ensure accurate rendering within Godot. This enabled dynamic color changes and allowed users to customize their fossbots with distinctive colors:
- 🟡 -
yellow - 🔵 -
blue - 🟢 -
green - 🟣 -
violet - 🔴 -
red - ⚪ -
white - ⚫ -
black - 🔵 -
cyan
The wheels were similarly customized in Blender to mirror the authentic FOSSbot design.
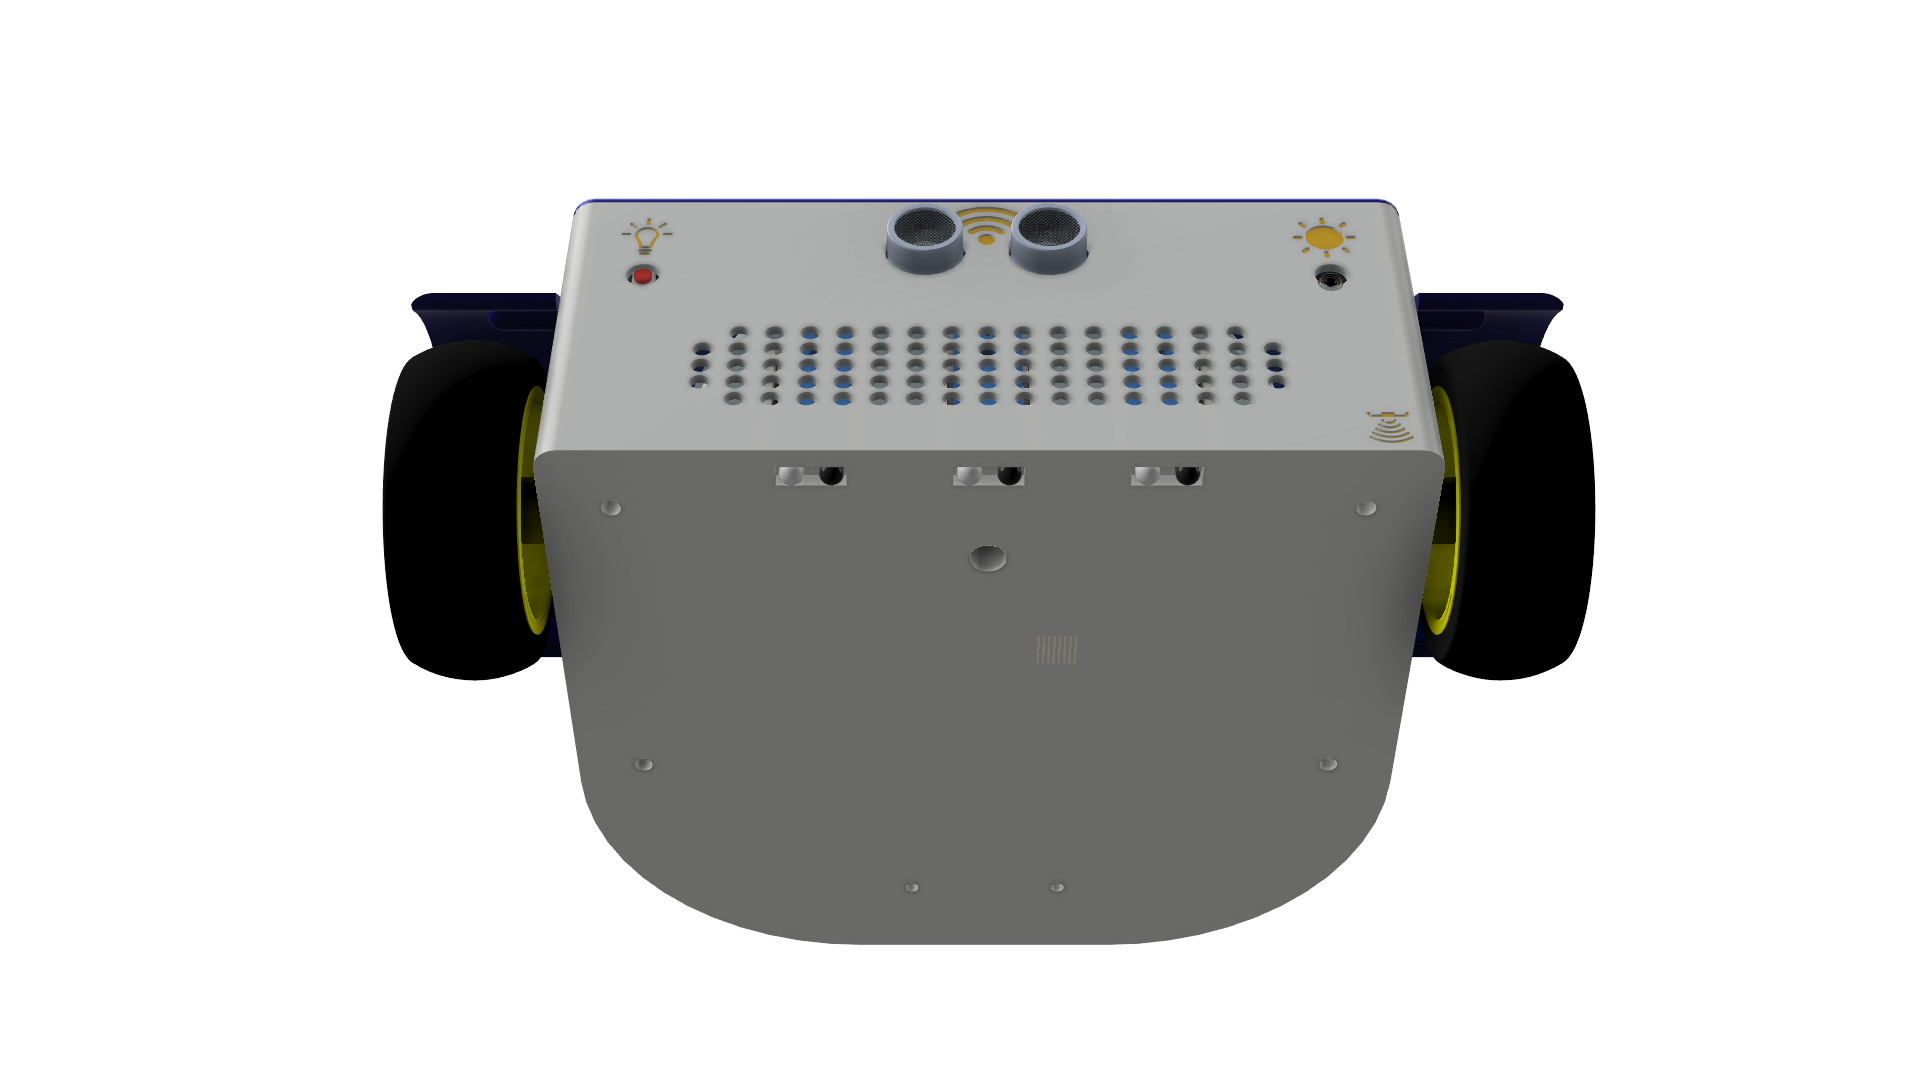
An integral part of the fossbot model is Godot's vehicle body node, pivotal for various vehicle movements like wheel rotation and directional motion. Despite fossbot's three-wheeled design differing from Godot's typical four-wheel setup, a creative solution was employed. I adjusted the center of mass, aligning it more closely with fossbot's actual rotation point. Persistent fine-tuning of the vehicle's body settings resulted in an accurate model mirroring real-world behavior. This approach ensures precise movements, enabling fossbot to move straight and execute rotations with accuracy.
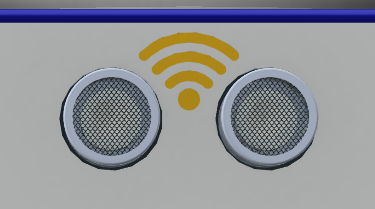
For implementing the ultrasonic sensor functionality, Godot's area node is harnessed in conjunction with raycasting to precisely determine collision point distances. To enable successful obstacle detection, the "detectable" nodes need to belong to either collision layer 1 or 8. While Godot's area enables the capture of an obstacle's center position, which isn't optimal for an ultrasonic sensor, a supplementary raycast is employed toward the identified object to measure distance from the point of collision. Consequently, the minimum distance from all raycasts is utilized as the detected distance by the ultrasonic sensor.
The implementation of fossbot's line sensors is facilitated through Godot's camera node. To enhance processing speed, each camera of the line sensor captures a downscaled image (64x64), which is then converted into grayscale. This approach effectively computes the dynamic darkness percentage of fossbot's three line sensors.
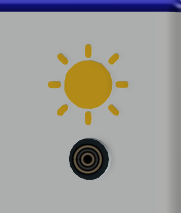
The light sensor follows a similar approach as the line sensors, utilizing a Godot camera node to capture a reduced screenshot of its field of view. Subsequent conversion to grayscale simplifies the task of discerning whether fossbot is positioned in a brighter or darker environment.
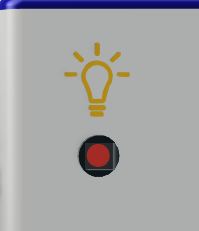
The implementation of the LED light involved the utilization of Godot's omnilight node to illuminate the fossbot from the position of the LED light, enhancing its visual representation. Additionally, Godot's spotlight node was employed to cast light onto the path directly in front of the fossbot, enhancing its interaction with the environment.
Modifying the LED light's color was seamlessly achieved by leveraging the light_color property of Godot's light node. This straightforward adjustment enabled the easy customization of the light's hue to match the desired shade.

To incorporate noise detection, a straightforward approach was taken by introducing a button labeled "Make Noise." Upon pressing this button, the fossbot's noise detection functionality triggers and returns a true response. This concept draws inspiration from the "Make Noise" button featured in fossbot's previous Coppelia Sim simulator, where a similar mechanism was employed.
This node was created specifically for the cameras of the simulator to track fossbot's position, since it had a better view of fossbot.